Ledger Admin Walkthrough Guides
How to perform certain operations through Admin Ledger.
Registration Through An Admin User Invite
Account setup is limited to email invitation.
Locate Invitation Email
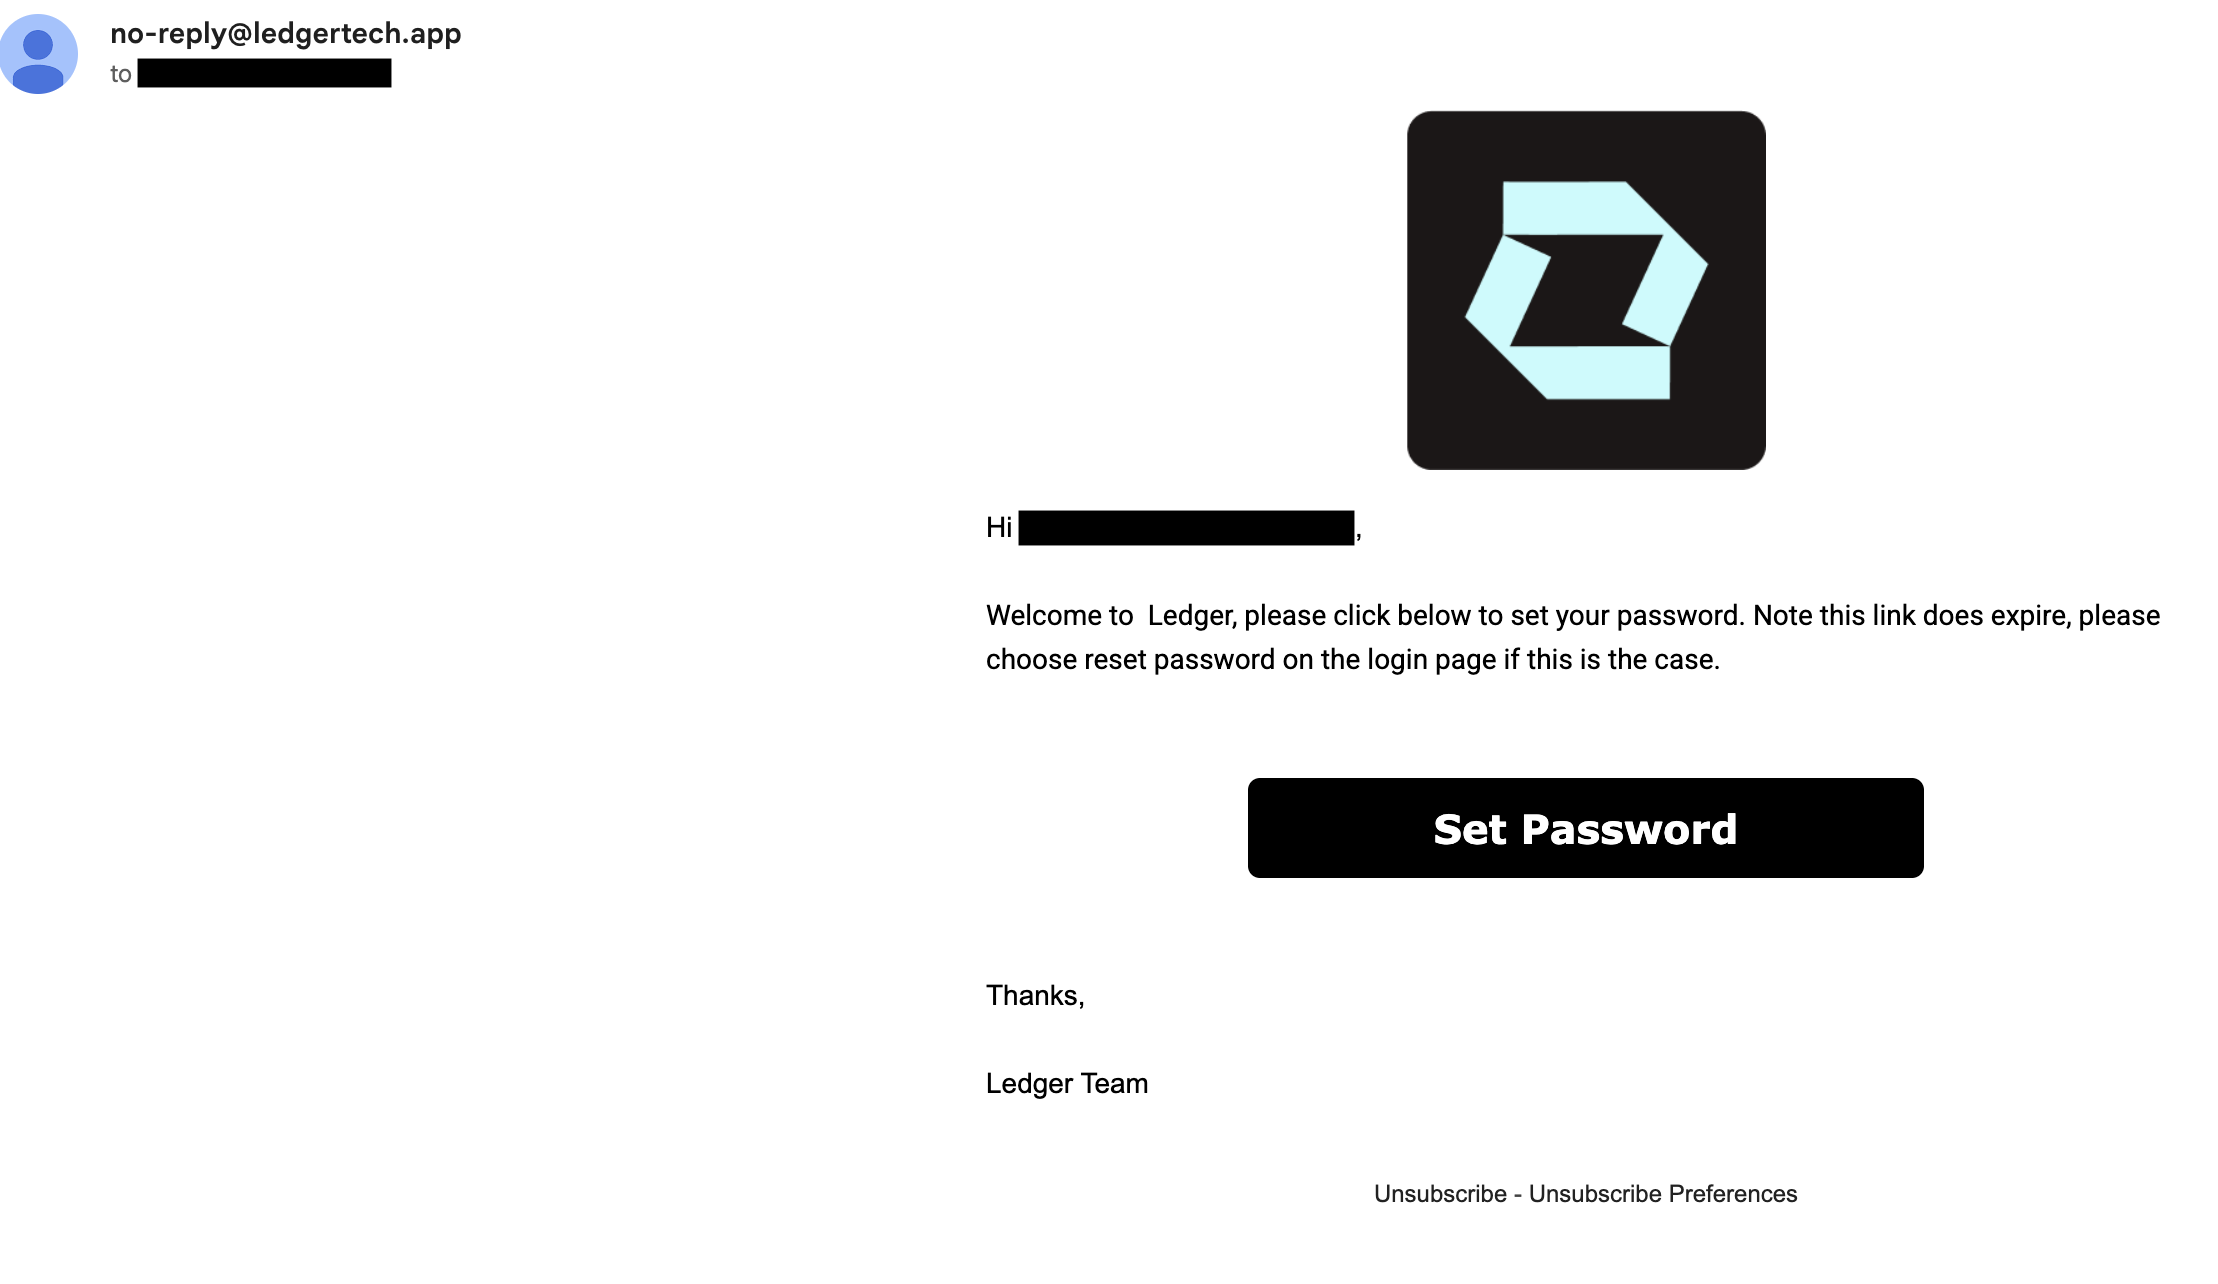 The email should be named no-reply, titled (no subject) and include 'Welcome to Ledger'. Make sure to check All Mail or your Spam folder.
Click Set Password to register.
Enter And Submit Login Credentials
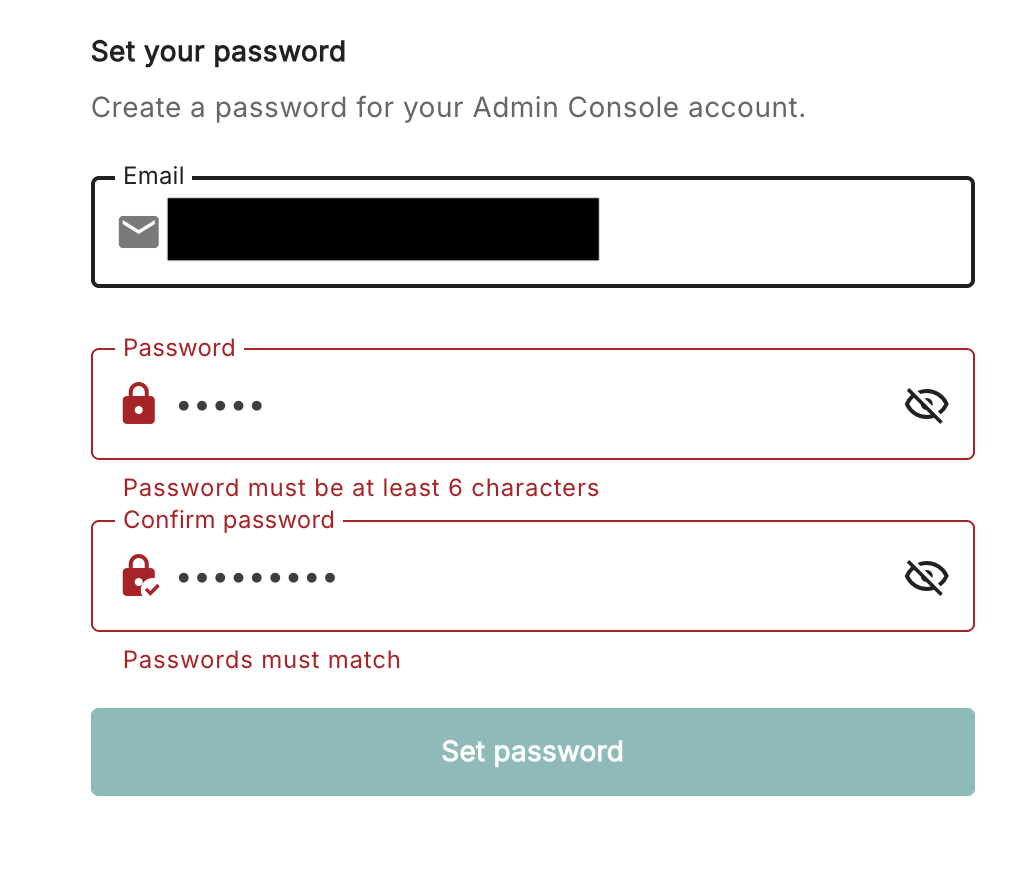 In this form, type in your password in the middle box and confirm the password by typing it in the next box over. The email in the top field is read-only and unchangeable.
As demonstrated, the password must be at least 6 characters long.
Log In Through Ledger
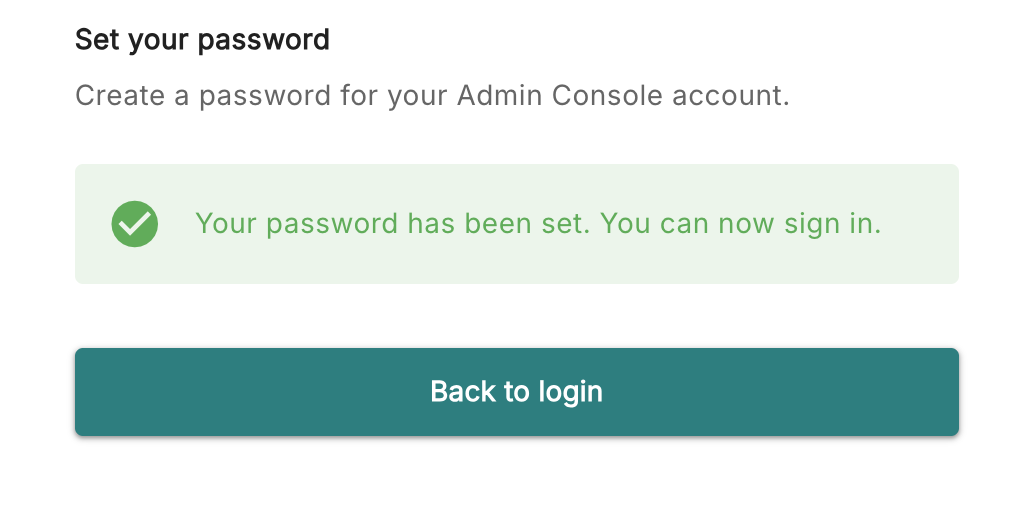 Press the button Back to login in the form and enter your email and password credentials.
If you exit out of the form page before doing so, you can re-enter the email even if it has expired by its one-time use; the expiry message links the Back to login button as well.
Organisation Vocabulary Setup
Setting up vocabulary to suit your organisation's needs.
Navigate to Settings
Click the Settings tab on the left navigation bar.
Enter Organisation Vocabulary
Press the Edit button in the Organisation Vocabulary section inside Settings.
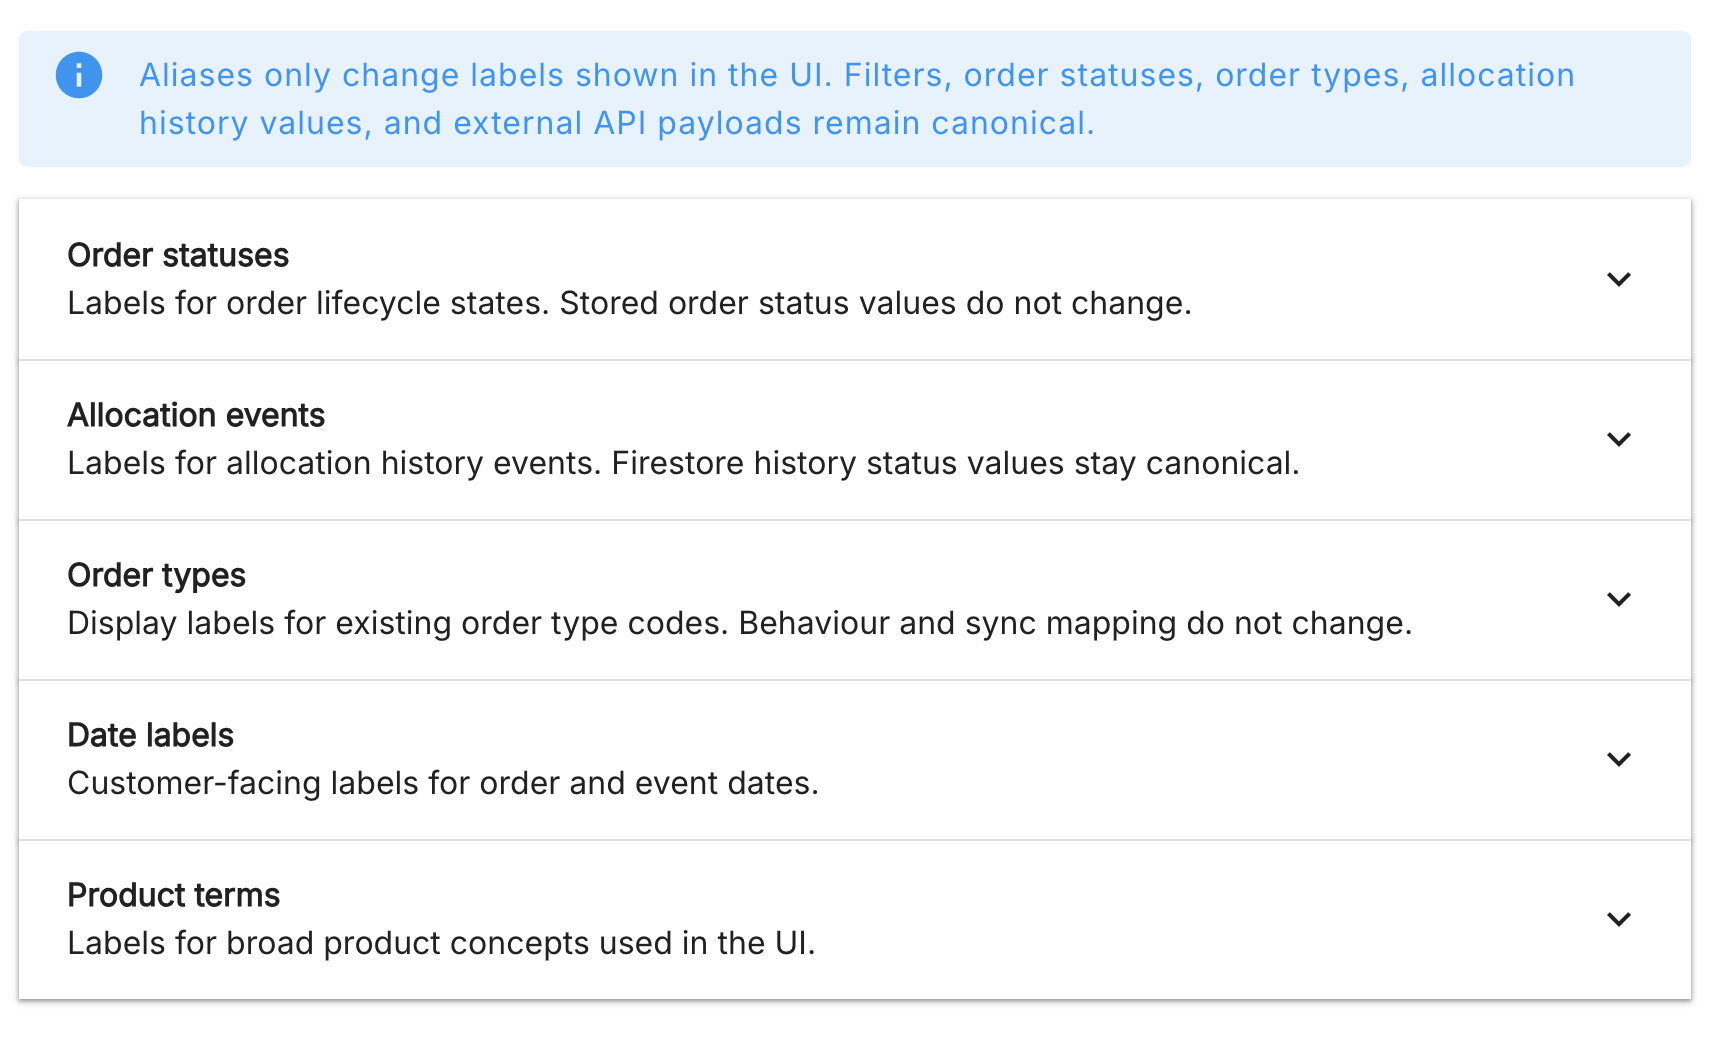
Editing Vocabulary
This makes Ledger suit your terminology, such as making an Asset into a Product, Garment, Tool, etc..
You can change any of the following:
Order Statuses
See Order Statuses.
Allocation Events
How Ledger refers to states an Asset has inside an Order, specifically what can change with RFID scans. Such as, if an Asset is given to a User, it can be Assigned or Given on scan instead of Issued.
Order Types
Does not refer to Order Types, instead uses a legacy Order Type system; orders that have different recipients and purposes, but follow the same workflow.
Date Labels
How Ledger refers to Order dates and times.
Product Terms
How Ledger refers to Assets themselves.
Completing and Saving Vocabulary
Click Save aliases to save changes.
How to Set Up Devices
Navigate to Devices Tab
In the Organisation you are in, navigate to Devices.
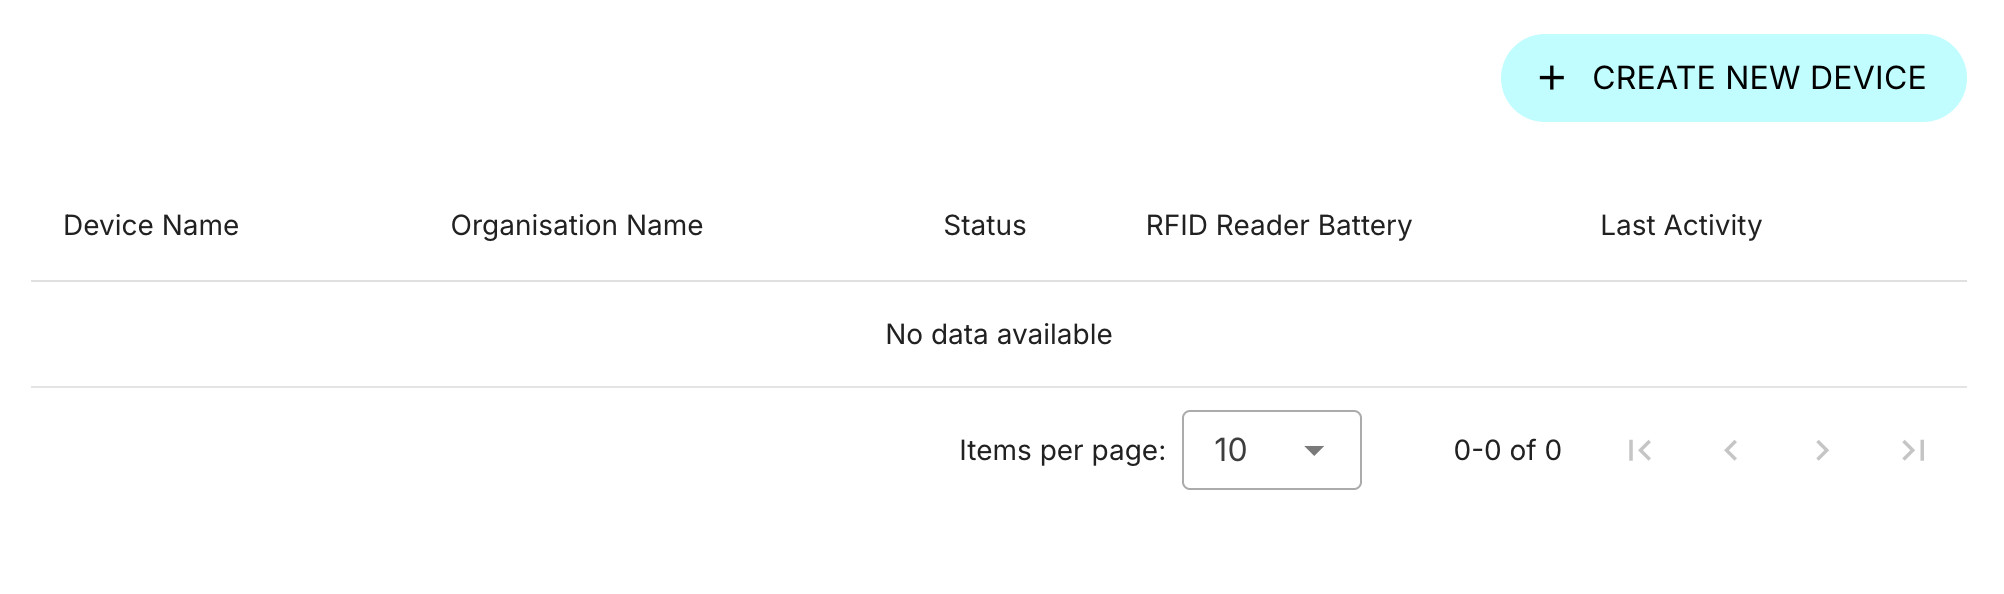
Add New Device
Select Create New Device.
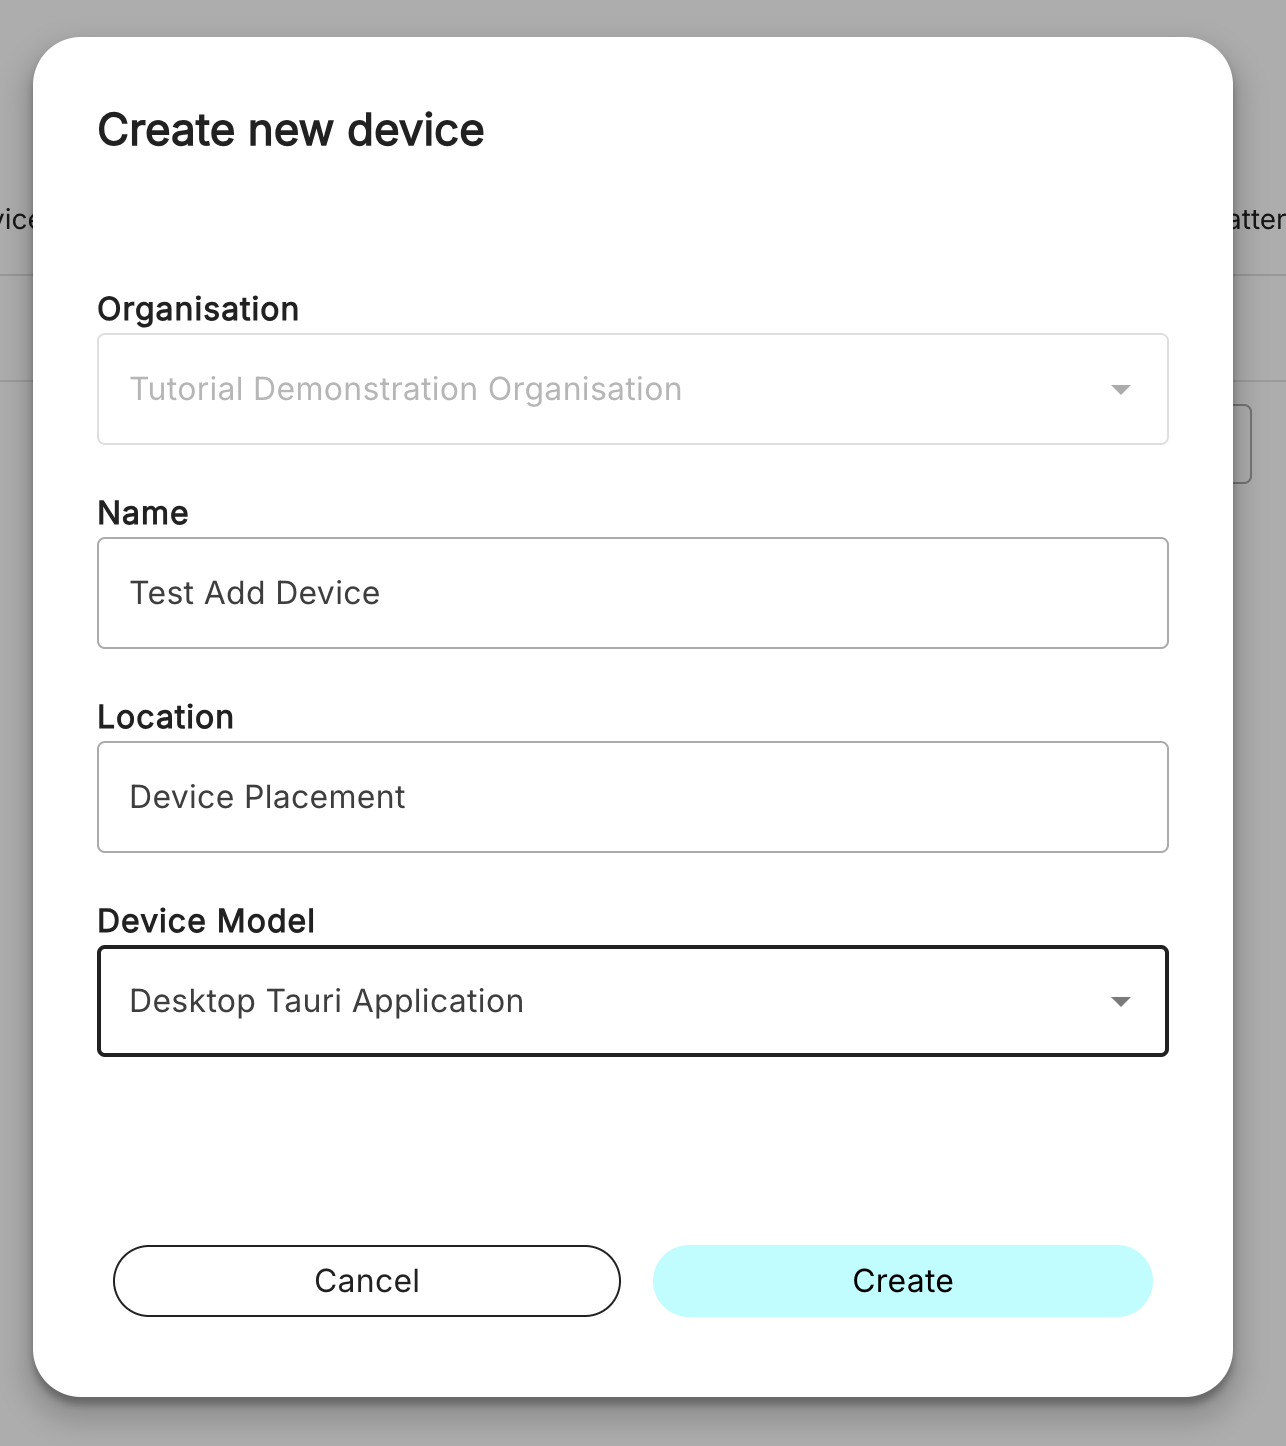
Type Details
For each field:
- Organisation - Defaults to the Organisation it is set under, and cannot change.
- Name - The name of the particular Device.
- Location - Where the Device is typically stored or located.
- Device Model - Which Device Model the Device is. Monitoring statistics will differ dependent on model.
Once finished, click Create.
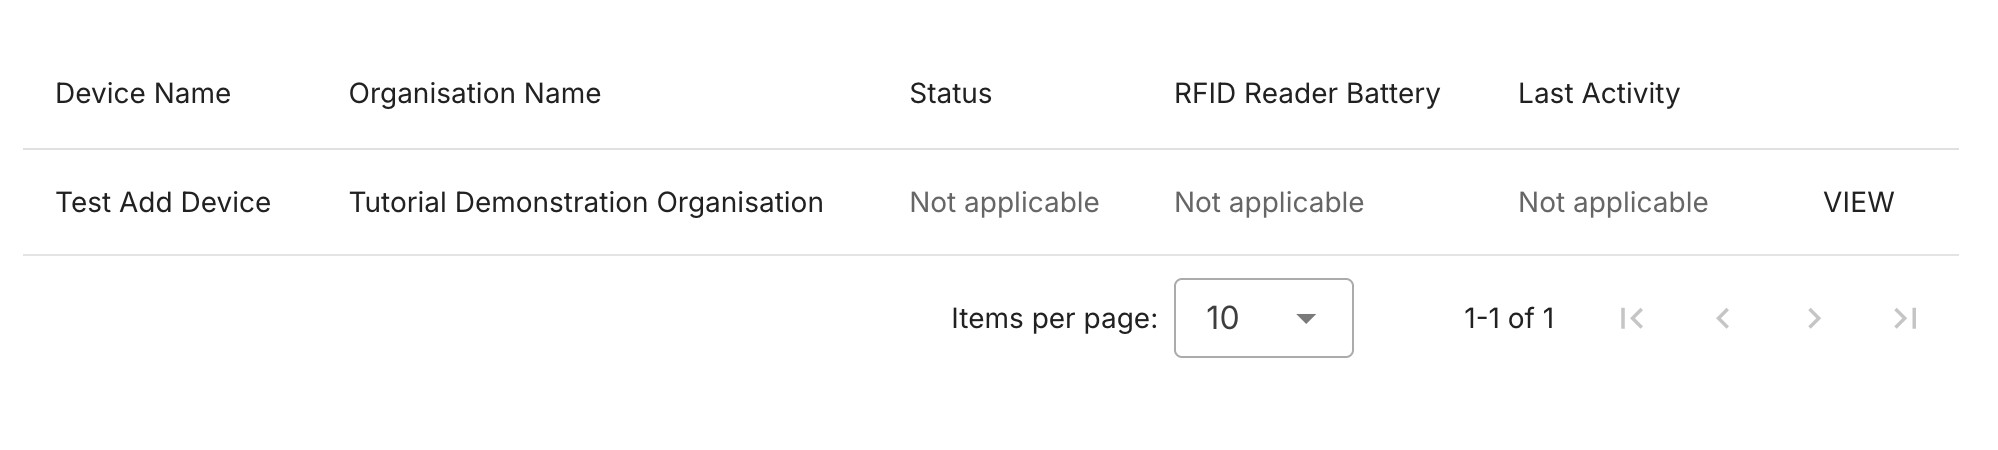
Save or Use Code (Optional)
You will be a shown an invite code, which you can immediately use for your device. You can change this later.
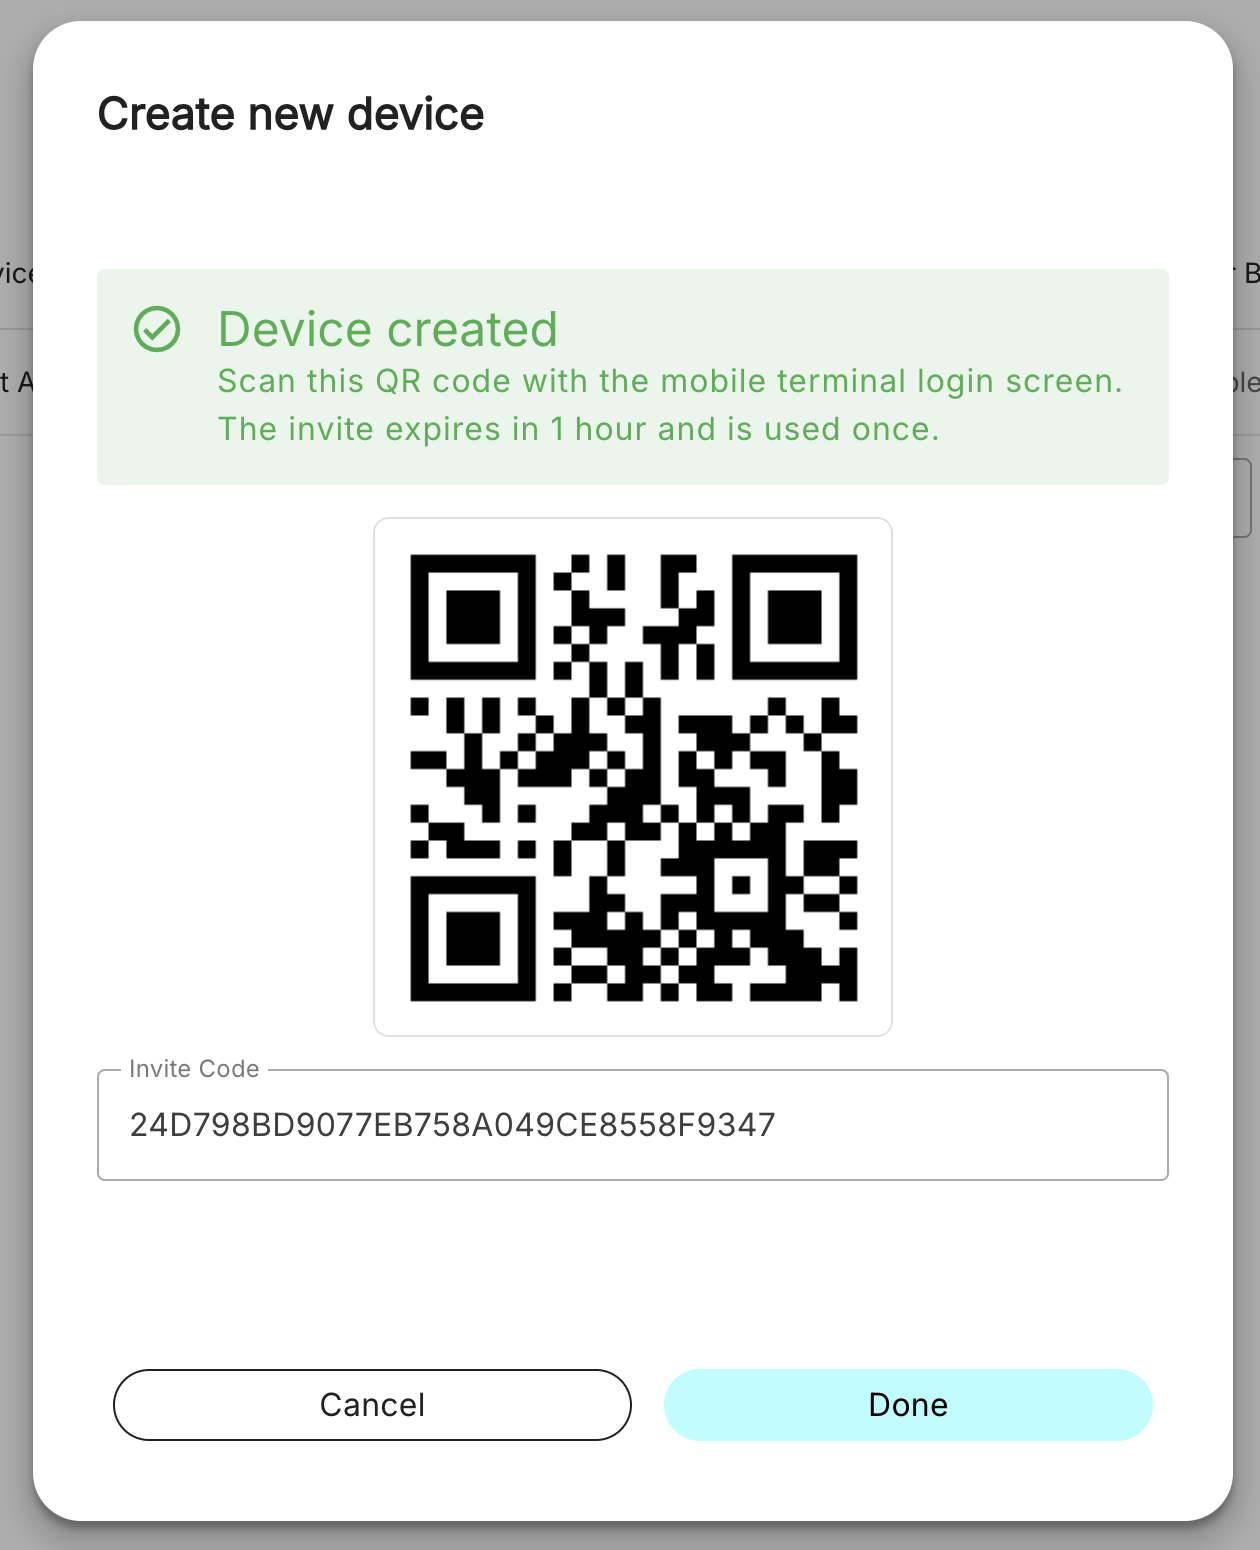
Renew or Change Device Invite Code
Do this if you can't log into a device using an Invite Code.
Navigate to Devices
Enter the Devices tab in your corresponding Organisation, and view your specific Device.
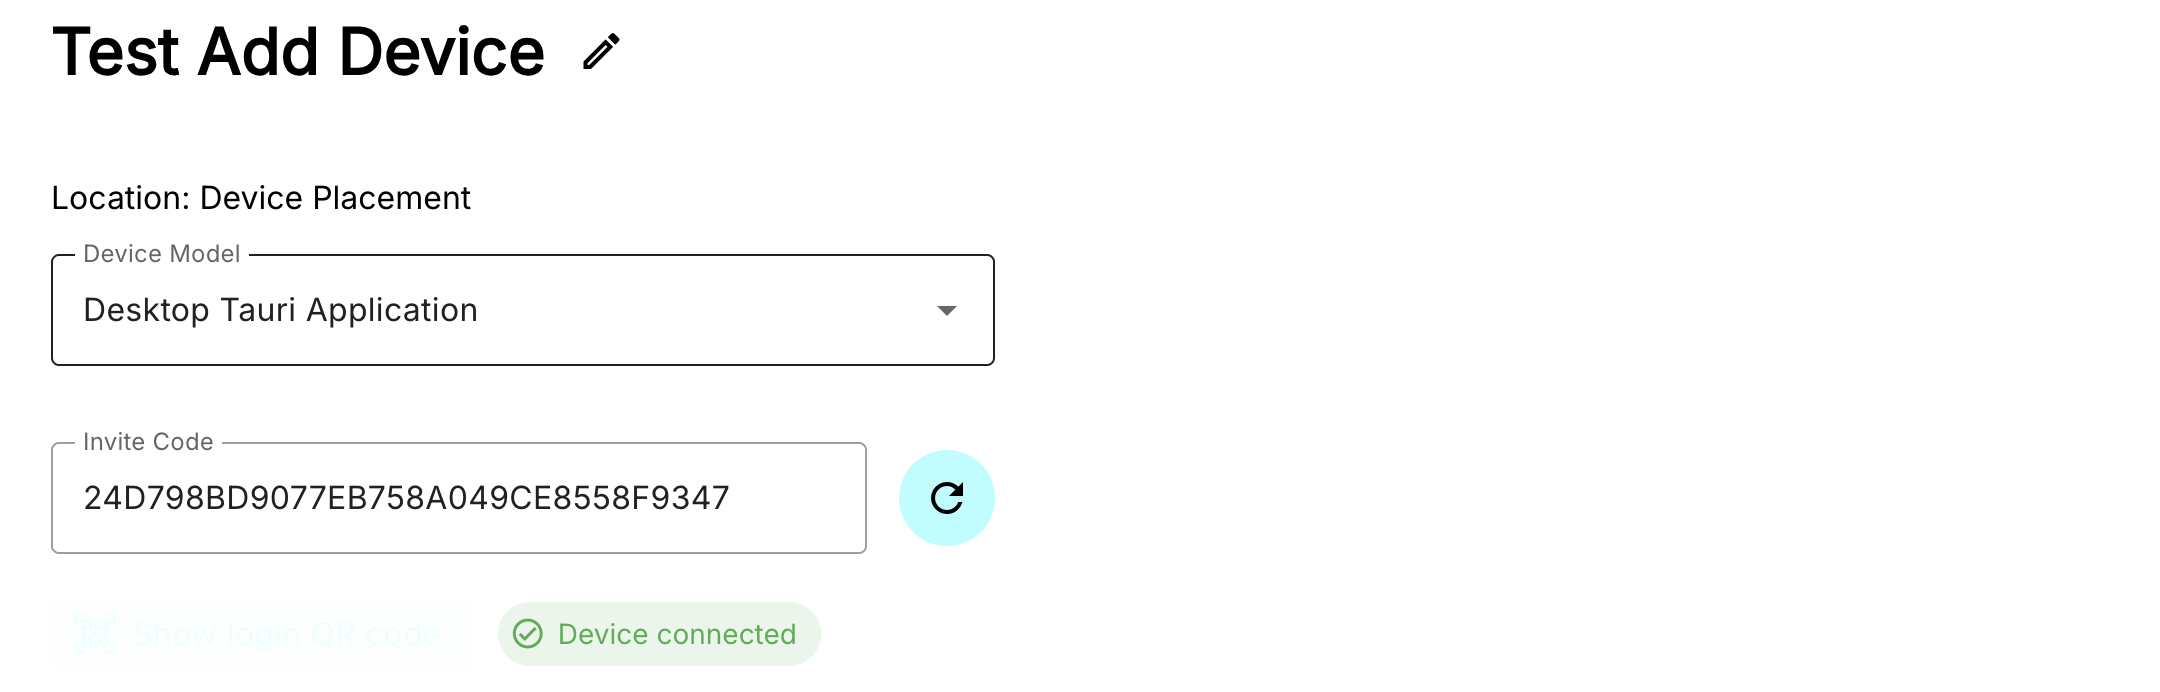
Edit Invite Code
You can either:
- Click the arrows icon beside the Invite Code field. This refreshes the code for another use.
- Change the Invite Code.
You will also be shown a QR code, which if you have a barcode scanning function on your Scanner, you can use this to quickly log in.
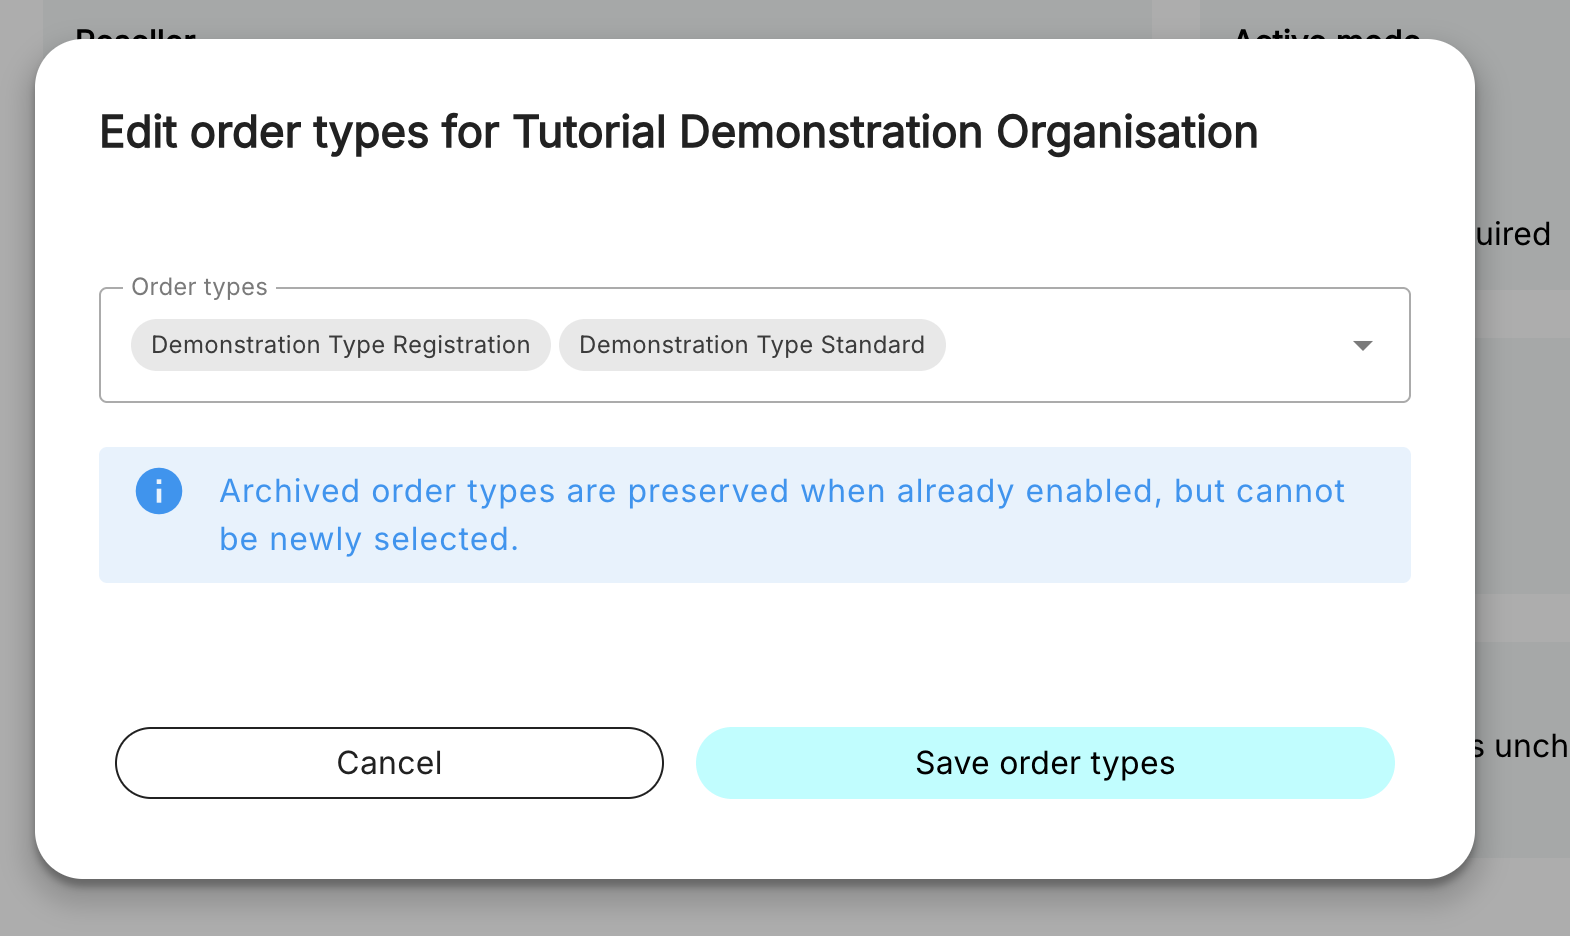
Configuring Organisation Order Types
Navigate to Settings
When inside an Organisation, go to Settings.

Select Order Types
Underneath the dropdown, select your required Order Types. Click Save.

Adding Orders and Users Through CSV
Operational Guide Reference:
Import and Import Mapping
Dataset Setup
To prepare your information for importing into Ledger, please make sure of the following.
- The file you are about to import is a .CSV file.
- The entire file is sent only to one Group.
- Your dataset has columns that can serve at least these roles:
- User or Order ID - You can separate the two, but if you only have one of either, Order IDs and User IDs will point to each other.
- User Display Name - The name of each User.
- Event Groups - For tracking Order progress by group.
- Event Group Sequence - The intended order of assets being scanned per run.
There are more fields for information to be placed that are optional, detailed below.
Moving to Importing Data
Go to the Data Operations tab on the Ledger Admin site, and ensure you are on the Imports tab. If you can't see it, see Configuring Organisation Order Types.
For each tab enter:
- Group - The Group all bins inside the CSV will be under.
- Order type - The Order Type all Orders will fall under.
- Workflow mode - Currently defaults to Scanned asset registration.
- CSV file - Your intended .CSV file.
You will automatically enter the Map CSV columns dialog box.
CSV Header Mapping
Enter the following in each field, as required:
- User ID - User or Order ID column
- User display name - User Display Name column
- Event group - Event Group column
- Order event sequence - Event Group Sequence column
As for optional fields:
- Order notes - Additional information that may be required for your Order. Dependent on Organisation.
- Order reference - The ID's of Orders. If left empty, User ID will substitute.
- Order contact email, name and phone - Used for if Users are intended to be registered and contacted.
If you find that fields share the same area, you are still able to confirm selection.
Confirming Import of Data
Press Done, then Preview CSV.
If you are updating existing rows, press Update already imported rows. After making sure the values match as intended, press Import rows, and wait until completion.