Ledger Desktop Walkthrough Guides
How to Install The Desktop App
Requires the Web Admin panel.
Navigate to Install Software
Go to the Install Software tab.
Select Operating System Installation
Go to Download for Your Platform and click the download button for the version compatible to your system. Make sure you check which chip is correct if you are using MacOS.
Upon finishing the download, extract the application.
(MacOS) Accessing Application
There are currently difficulties in accessing the MacOS version of the Desktop App application, and the system may inform that the installation was damaged. This is a result of quarantining the program.
Open Terminals
Navigate to and open the Terminal.
Enter Quarantine Removal Command
Ensure you have administrative permissions on your desktop.
Enter the following:sudo xattr -rd com.apple.quarantine
Then drag and drop the application file into the Terminal window. This will apply the application path.
Press Enter.
Enter Admin Password
Enter your administrative password, and press Enter.
Open Application
Reopen the Ledger Desktop App.
Logging In
Requires the Web Admin panel, or contact with someone who has Ledger Admin access.
Obtain Admin Login Key
Ensure you are at the Devices tab inside the Admin website, and view the entry matching your Device by pressing View. Make sure the Device Model field matches your device: Desktop Tauri Application.
Click the circle arrow icon next to the Invite Code, copy the Invite Code and enter it into the app.
Creating an Asset Type
Asset types, as of current, can only be created in the Desktop App.
Enter Asset Types
Navigate to Assets, and then to Asset Types.
Create a Category
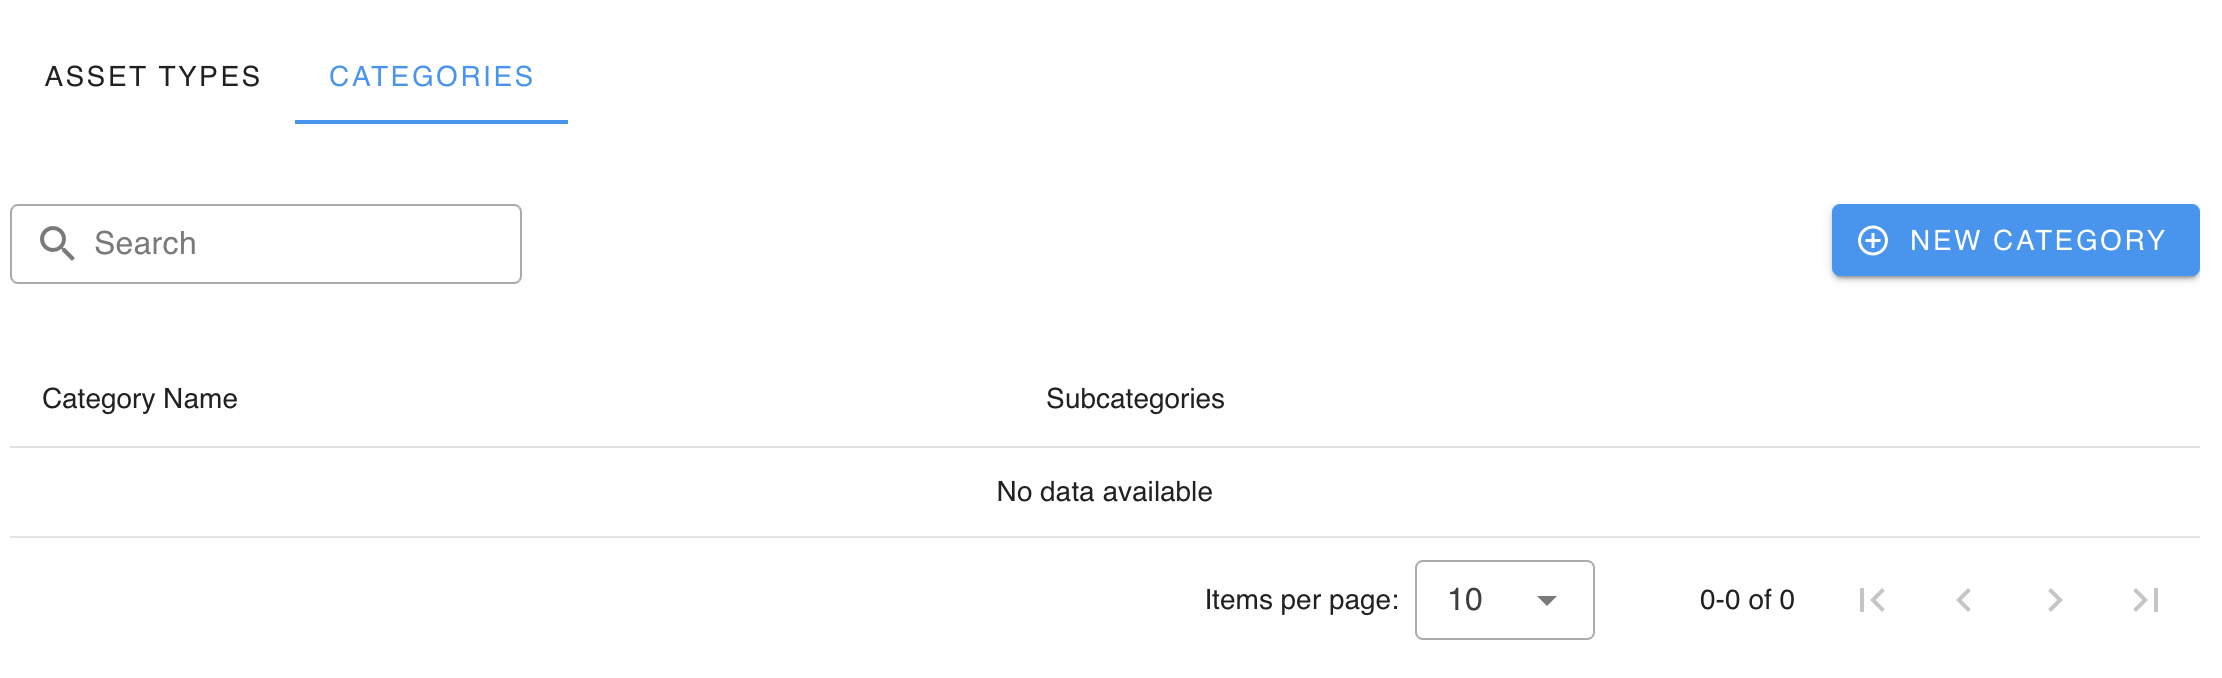
Enter the Category tab in the Asset Types page, and click New Category.
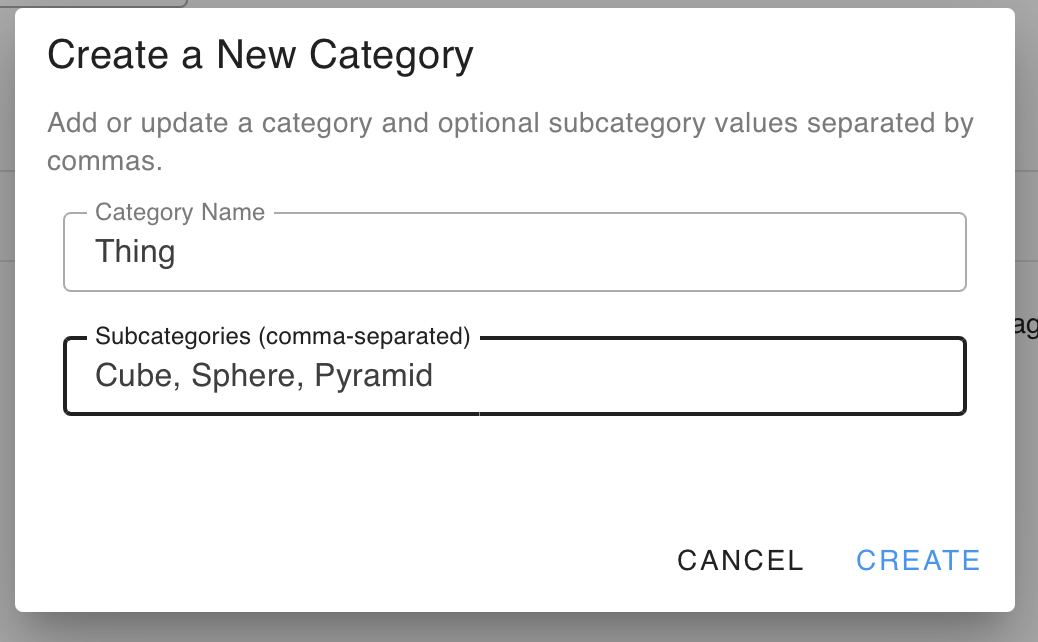
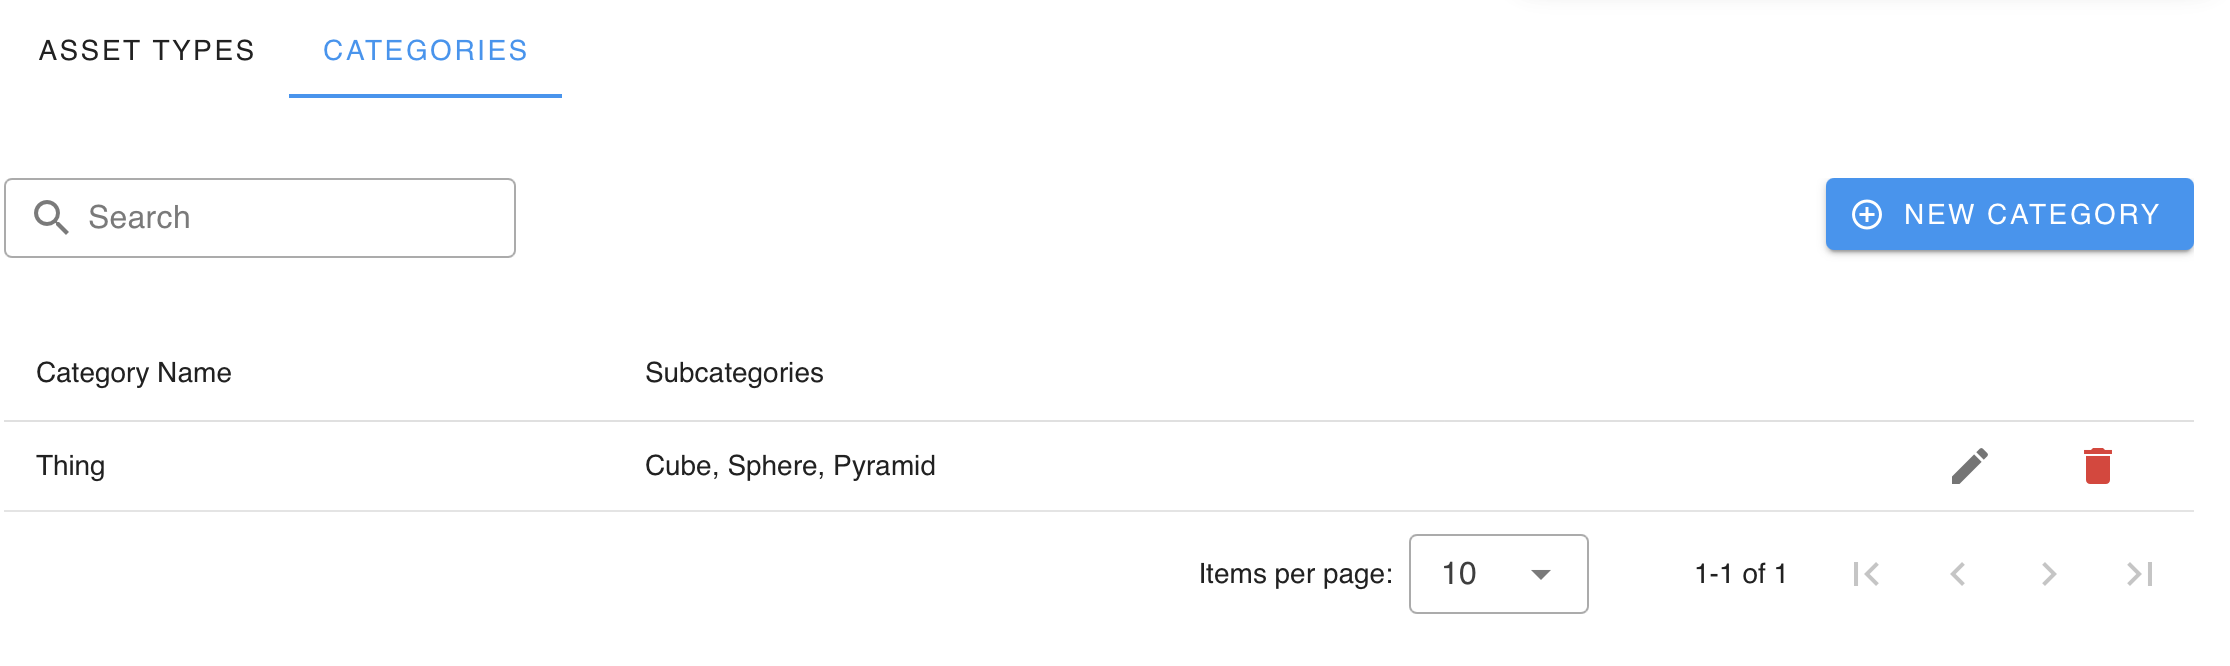
Enter the name of your Category and its Subcategories.
Create Asset Type
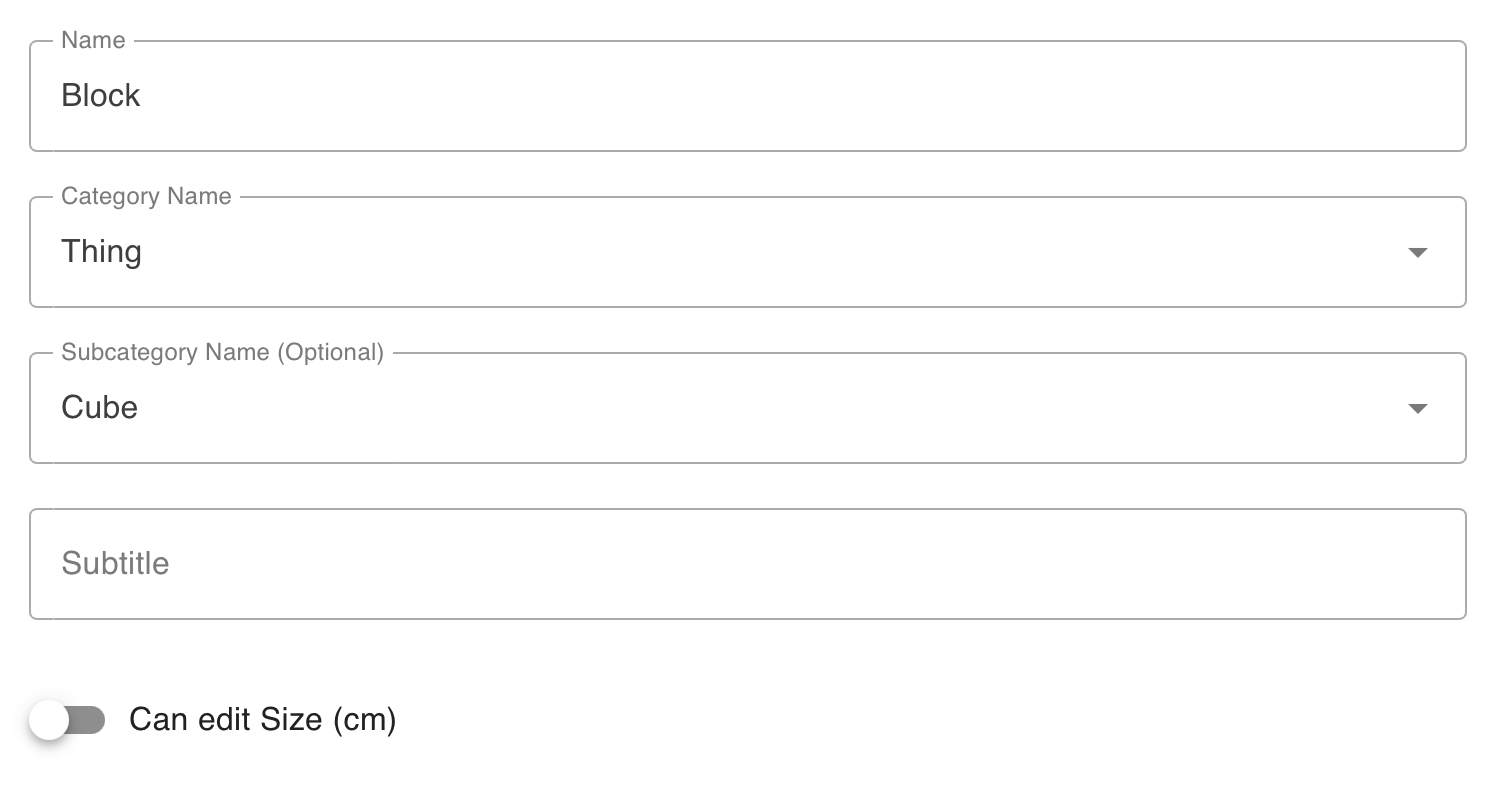
Enter or toggle the following:
- Name - Required
- Category Name - Required
- Subcategory Name
- Subtitle
- Legacy Variable - A former system before Properties.
- Properties - See below.
- Identifier Rules - This isn't necessary as rules are set after its creation.
- Type Image
Addition of Properties
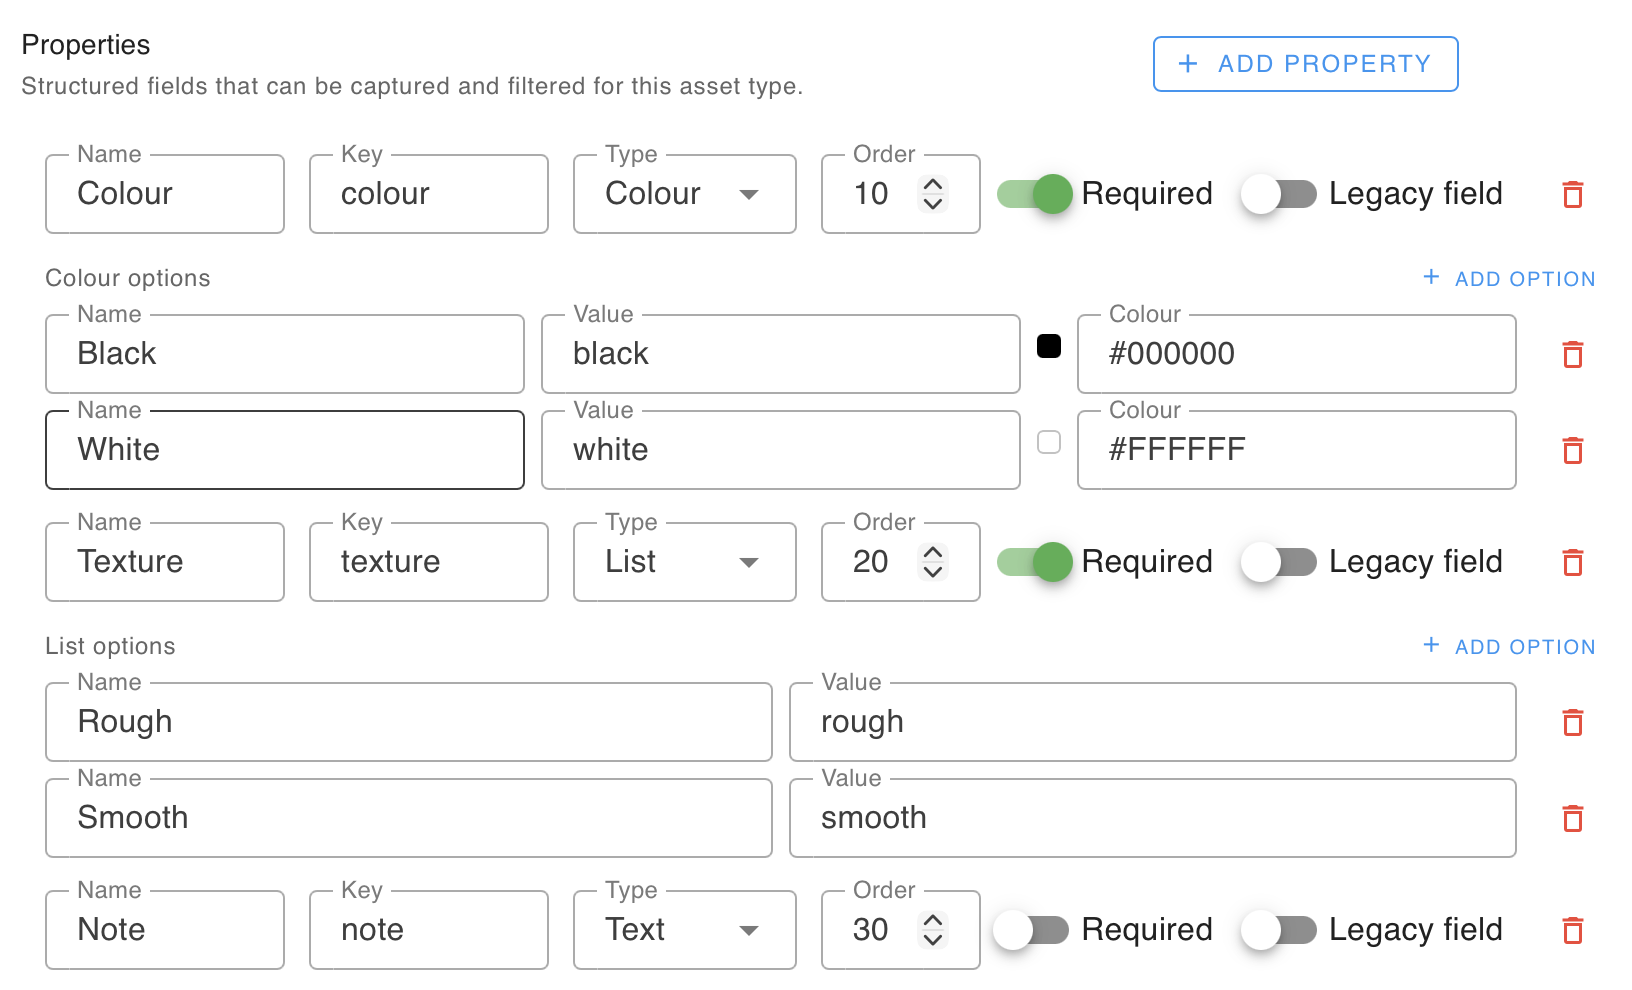
Click Add Property to start. Required means it must be filled in, and Legacy field takes the place of Legacy Variable. For types of properties, Text is a text input, List is a set of options and Colour is like List, but with colour values.
Confirm Addition
Click Save.
Create Identifier Rule
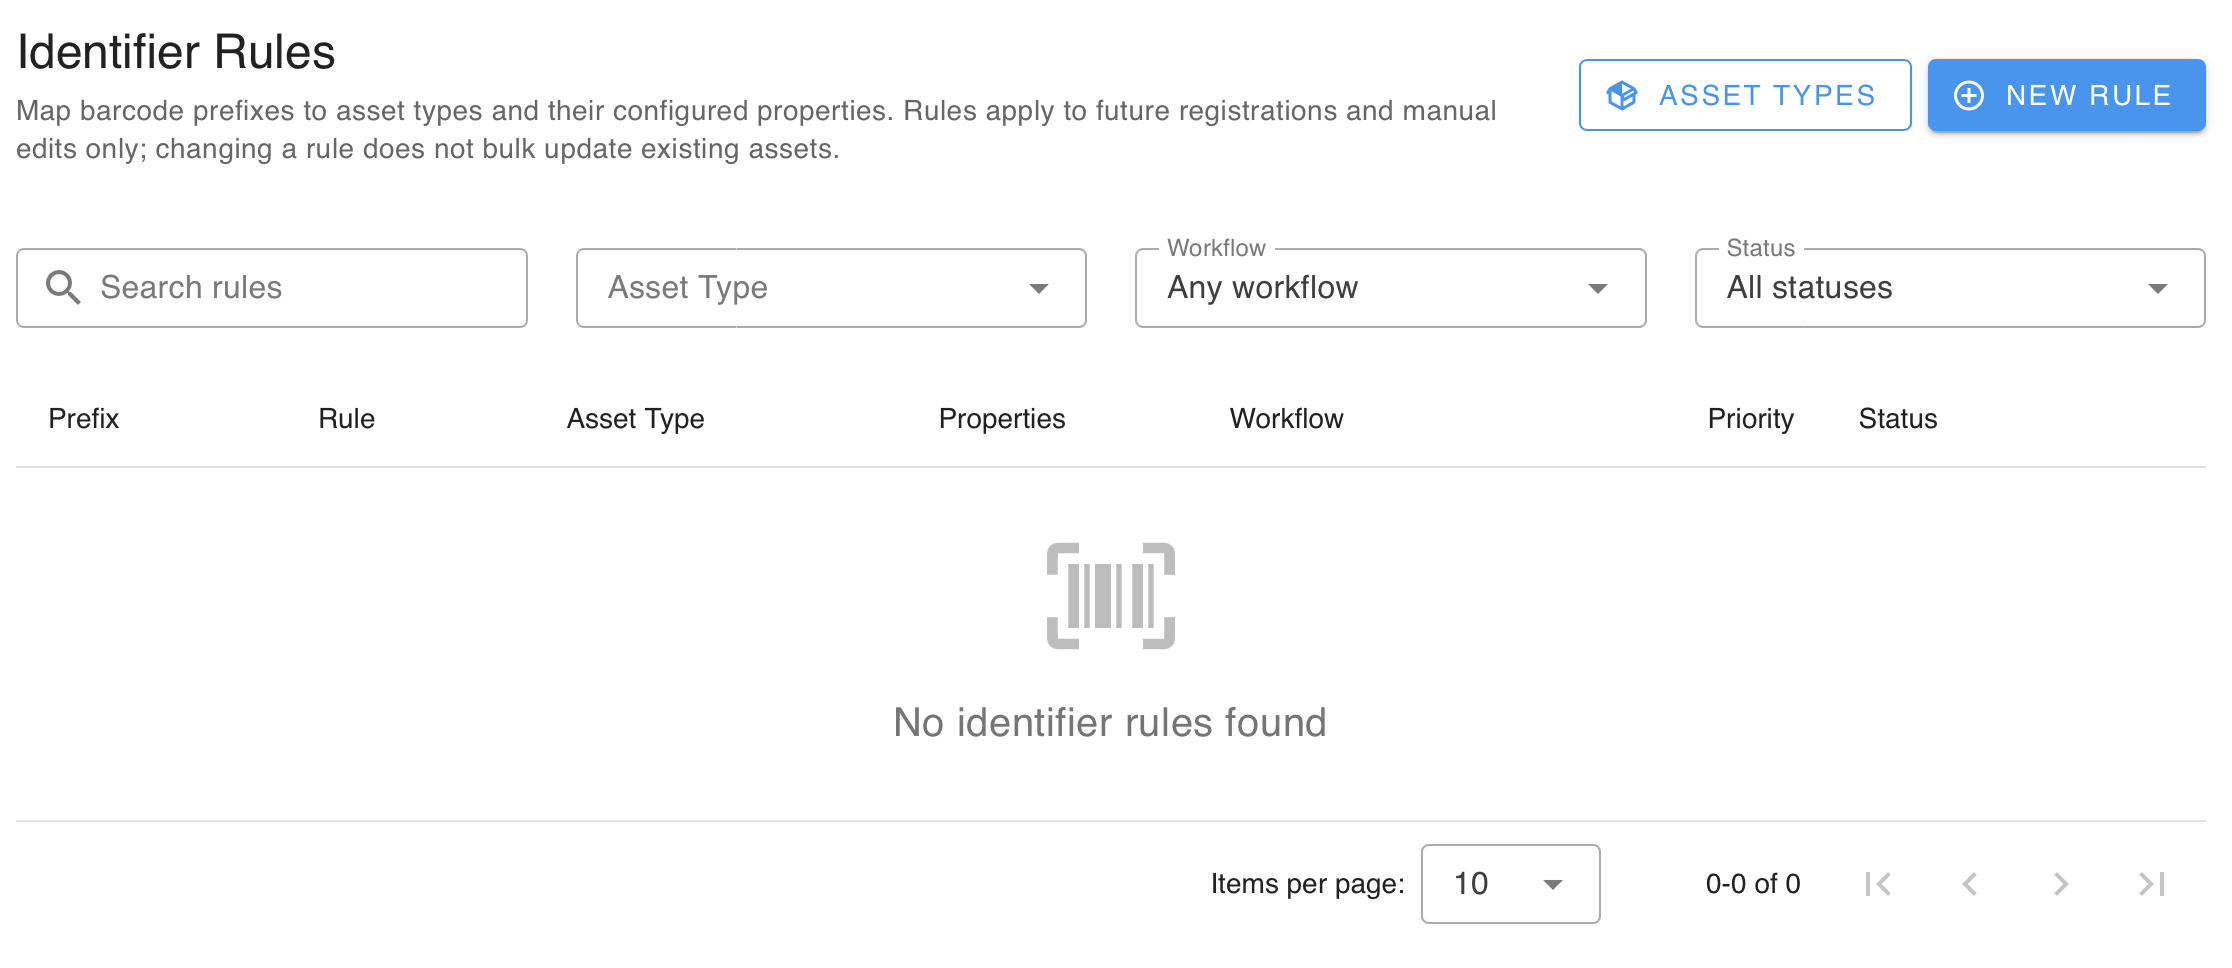
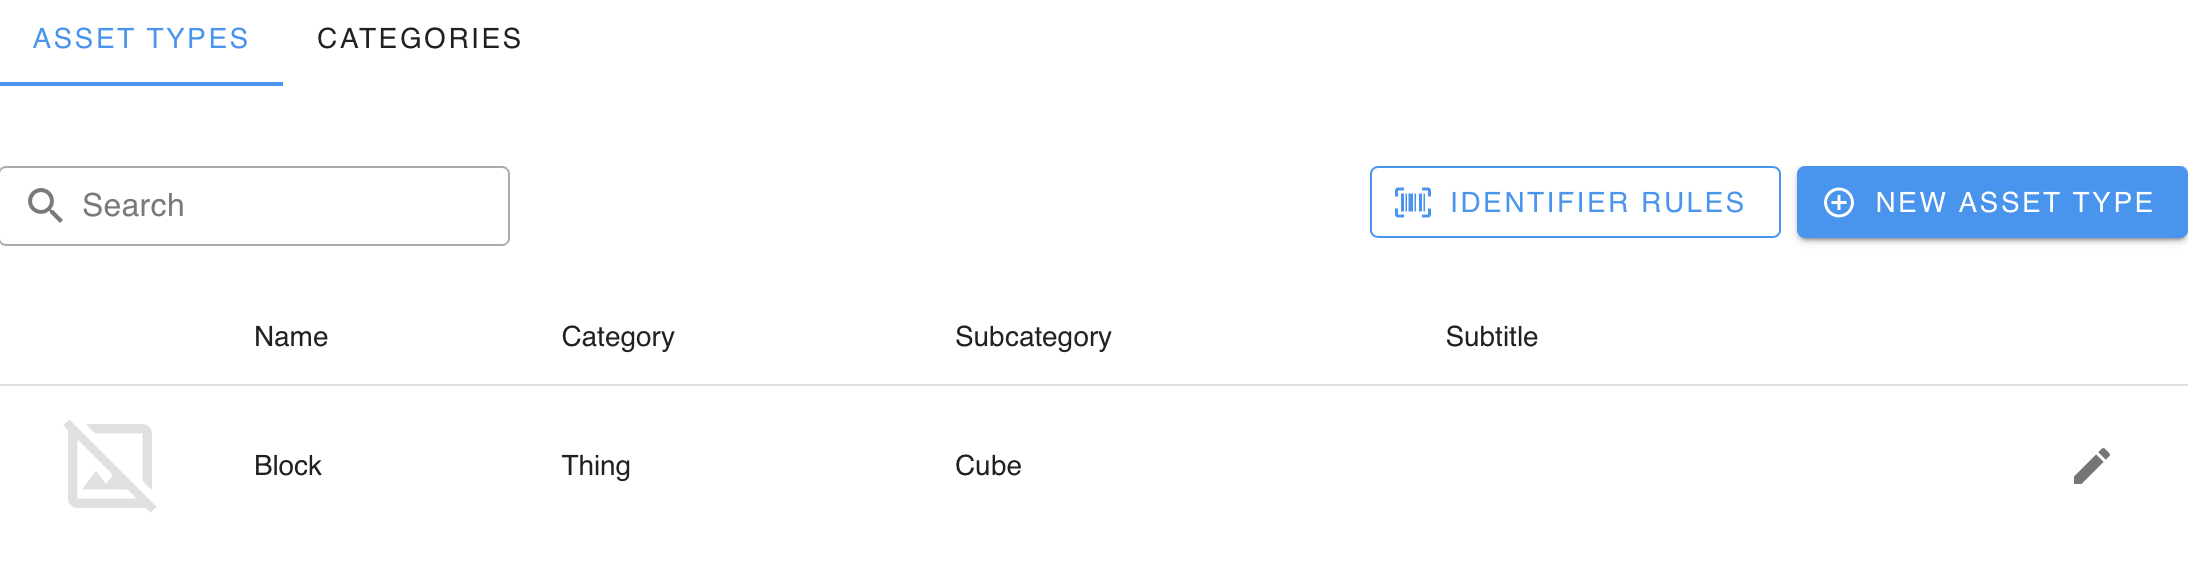
Select Identifier Rules. Identifier rules are used for making items of the same type take on different variants; for example, as a bin has a Red Lid Colour because it is a Waste Bin, or if it has a Yellow Lid Colour because it is a Recycling Bin.
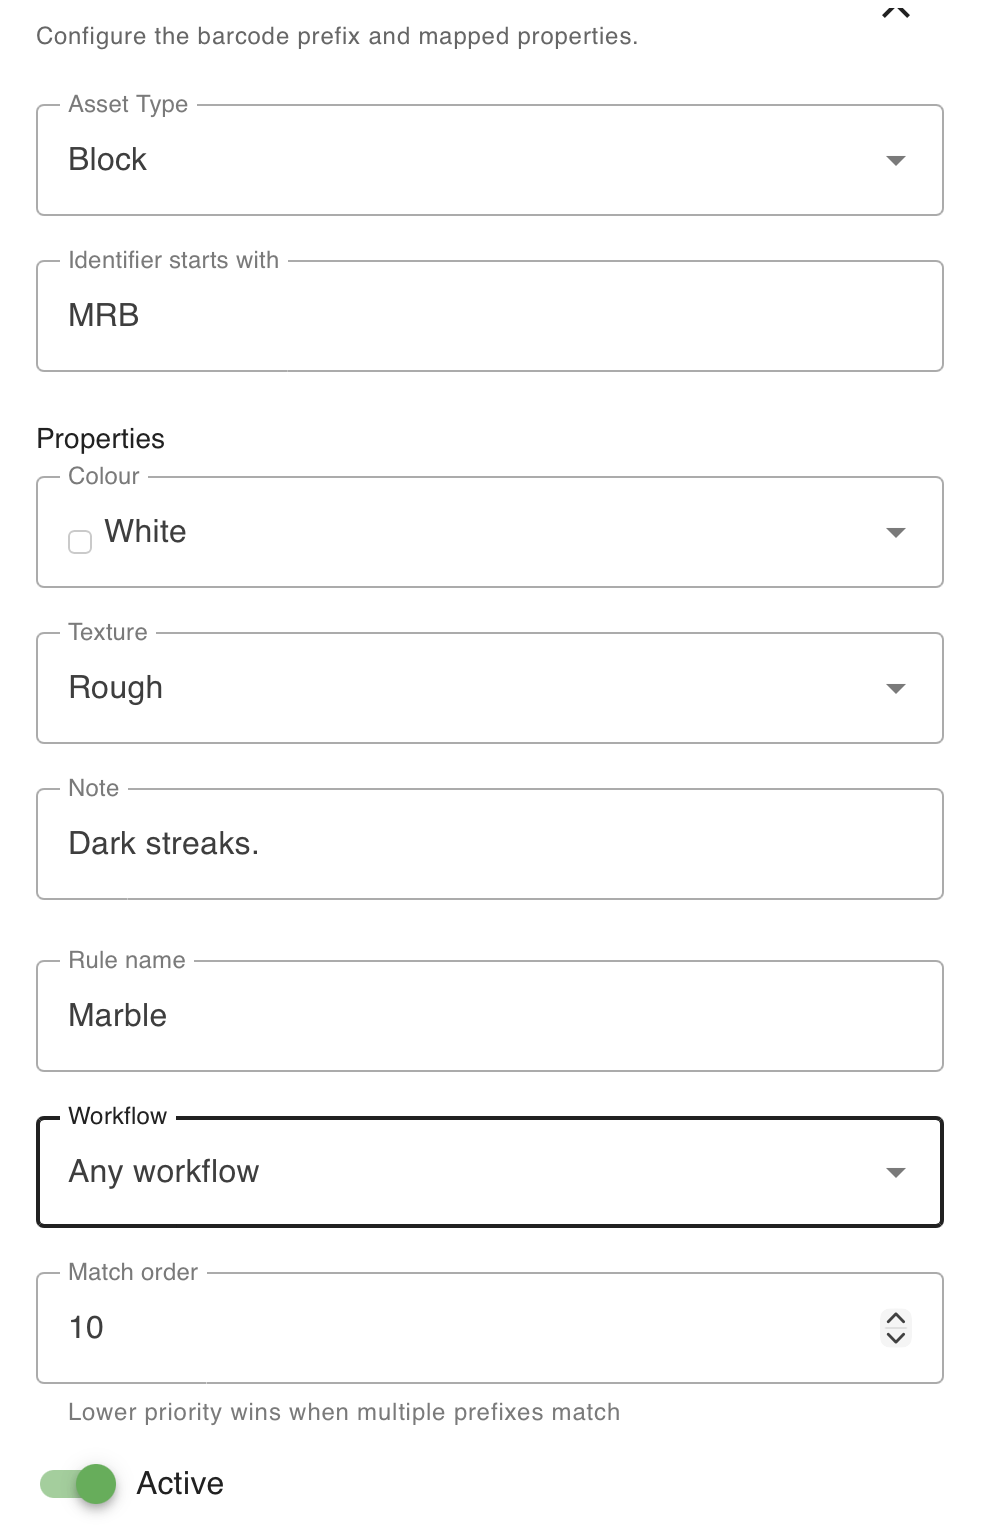
Enter or select for each field:
- Asset Type - The associated Type.
- Identifier starts with - The rule itself; sorting based on, for example, whether a scanned barcode starts with A- or B-.
- Rule name
- Workflow - Determines how the Asset will be processed. Match your intended Order Type. If you are unsure, choose 'Any workflow'.
- Match Order - If two identifier prefixes are the same, this decides which one gets chosen.
- Active - Whether or not it is currently being used.

Creating an Asset
Enter Asset Creation
Navigate to Assets, click the Create button and select Asset.
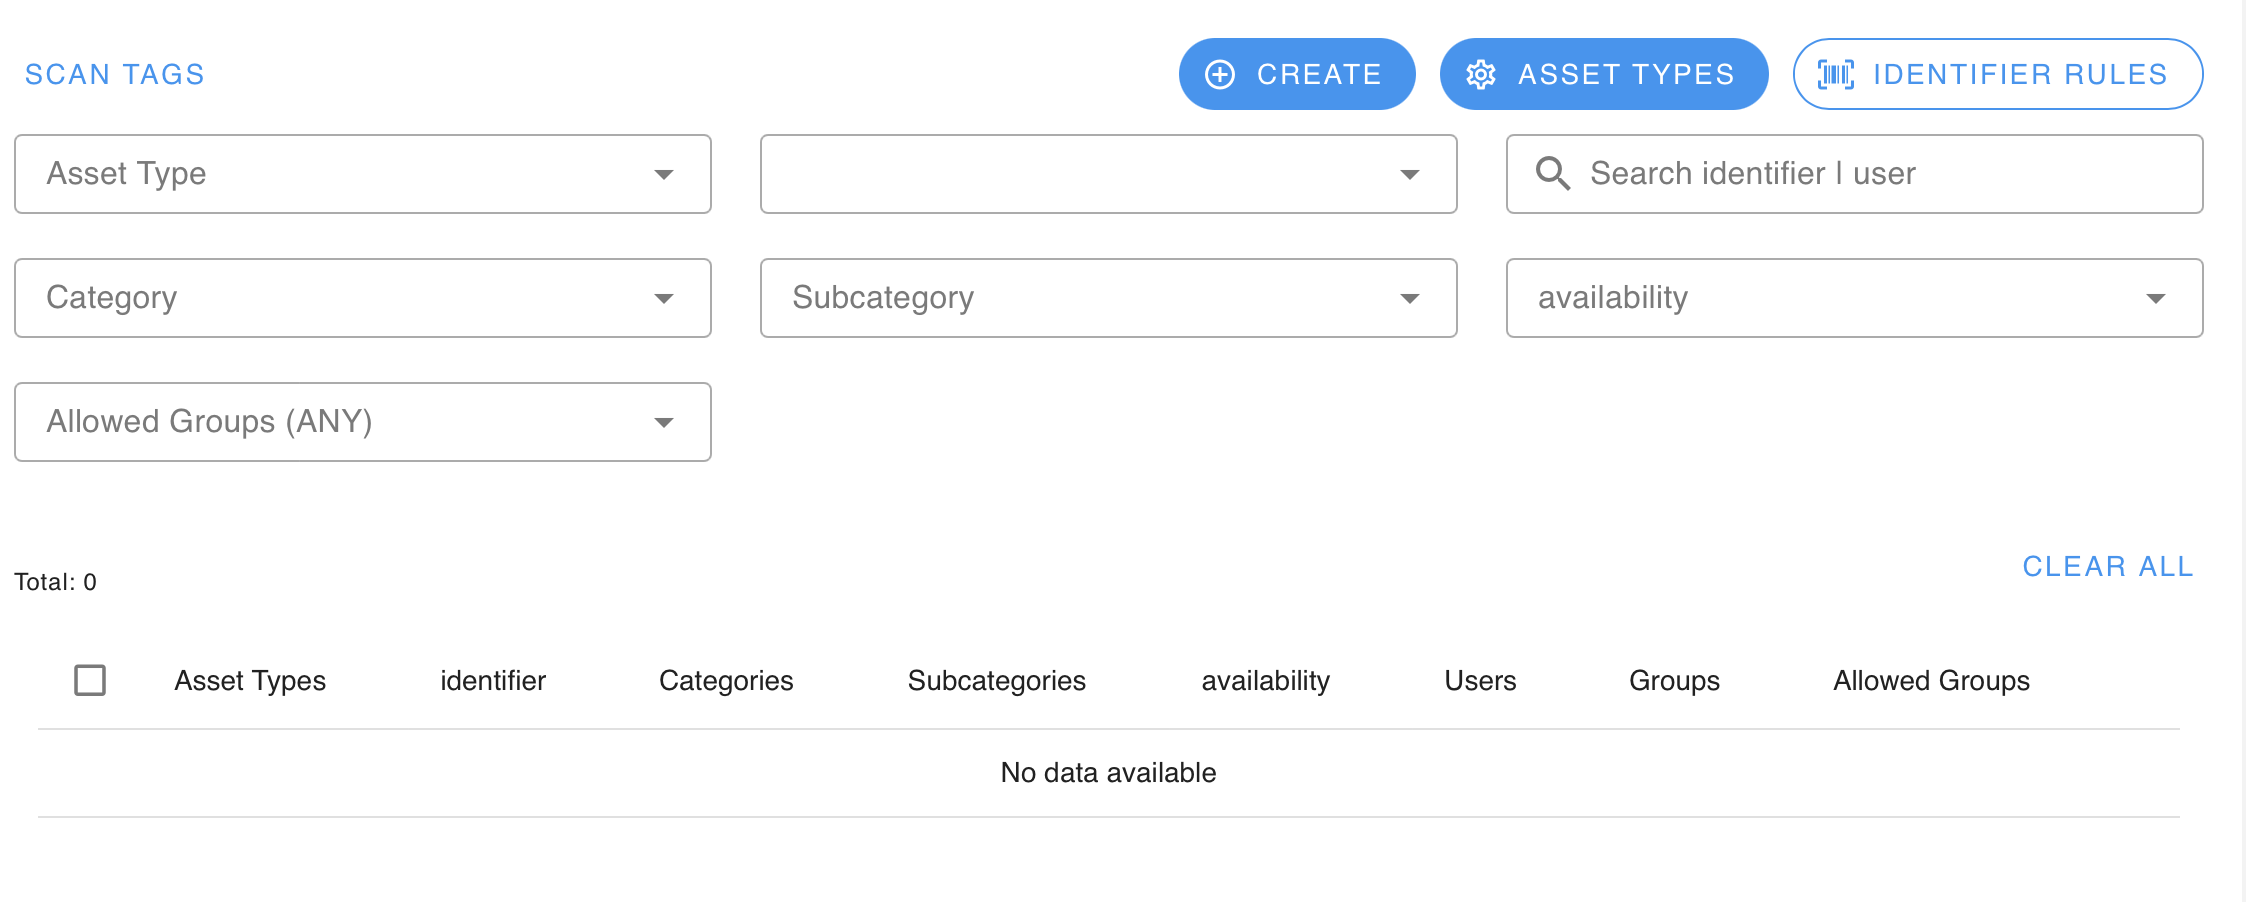
Enter Fields
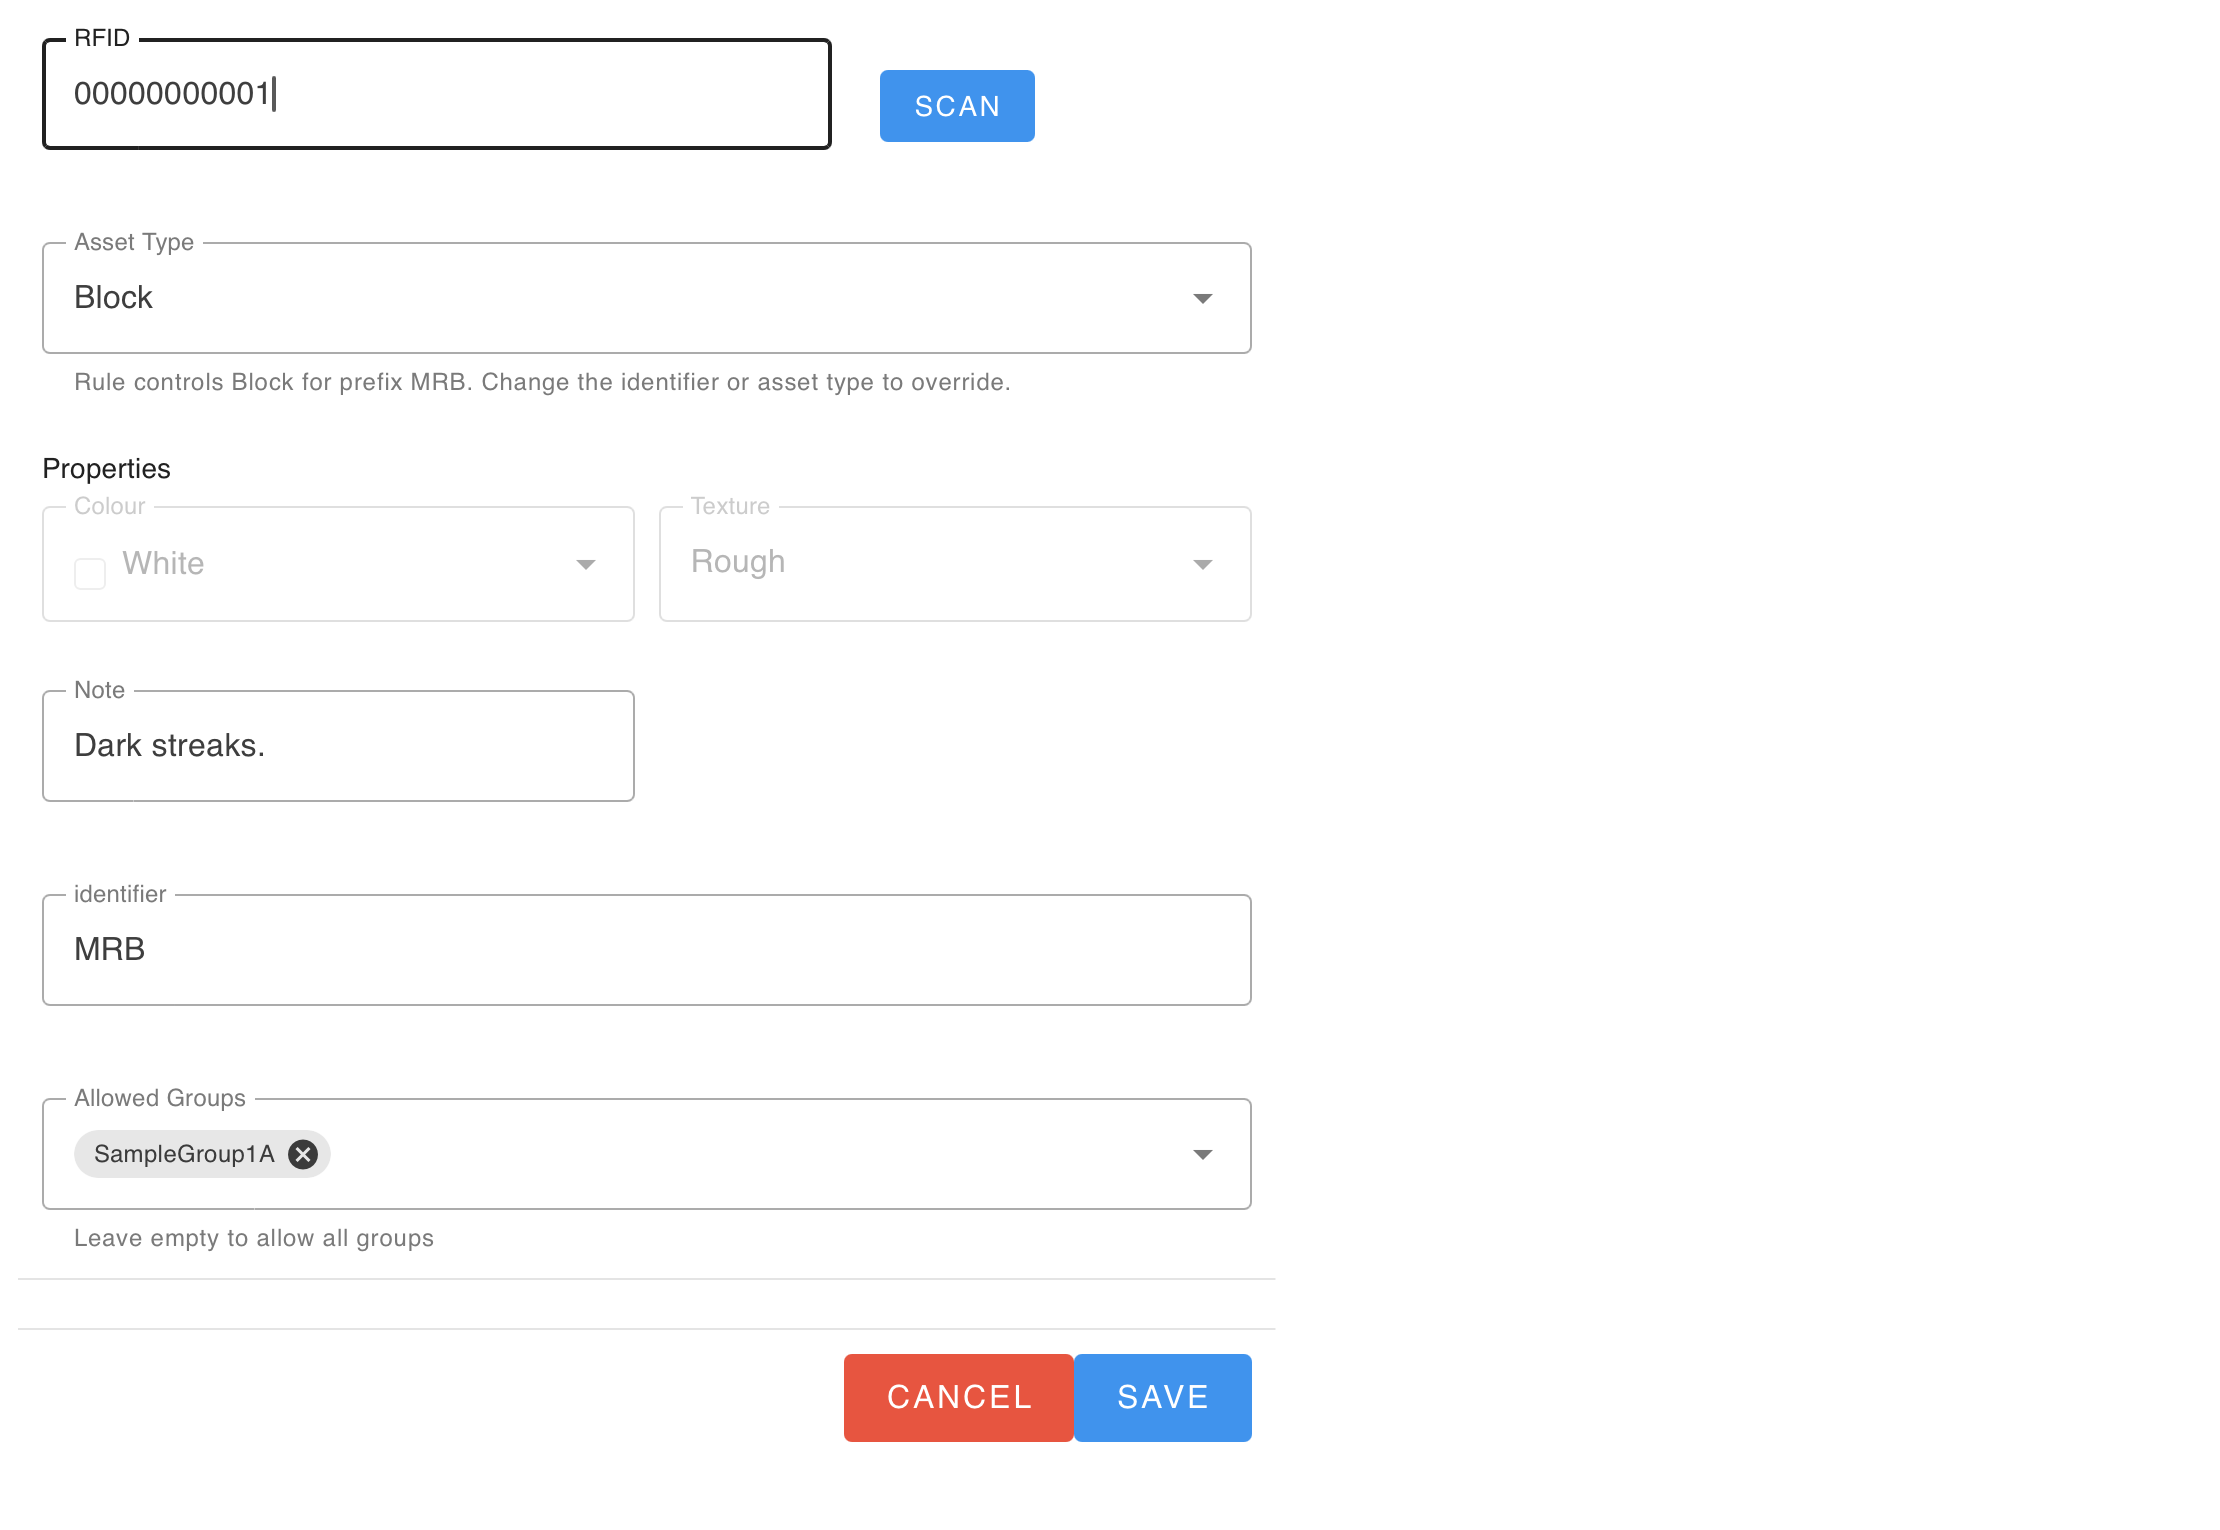
- RFID - Place the tag near the scanner and click Scan.
- Asset Type
- Identifier - If you type in a known prefix, it will automatically match an Identifier Rule above.
- Allowed Groups - Leave empty to allow any group to use this asset.
Select Save after you are finished.
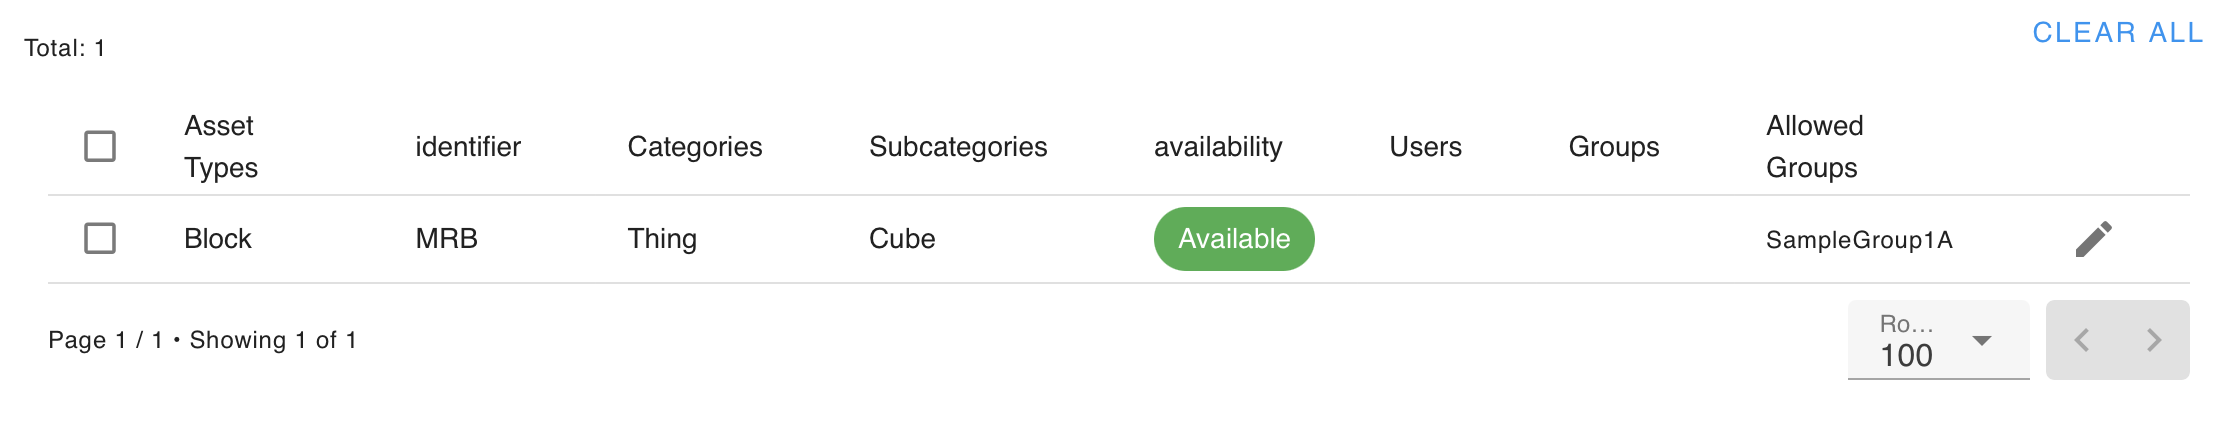
Creating a User
Begin Creating User
Navigate to Users and select Create New User.
Enter Fields
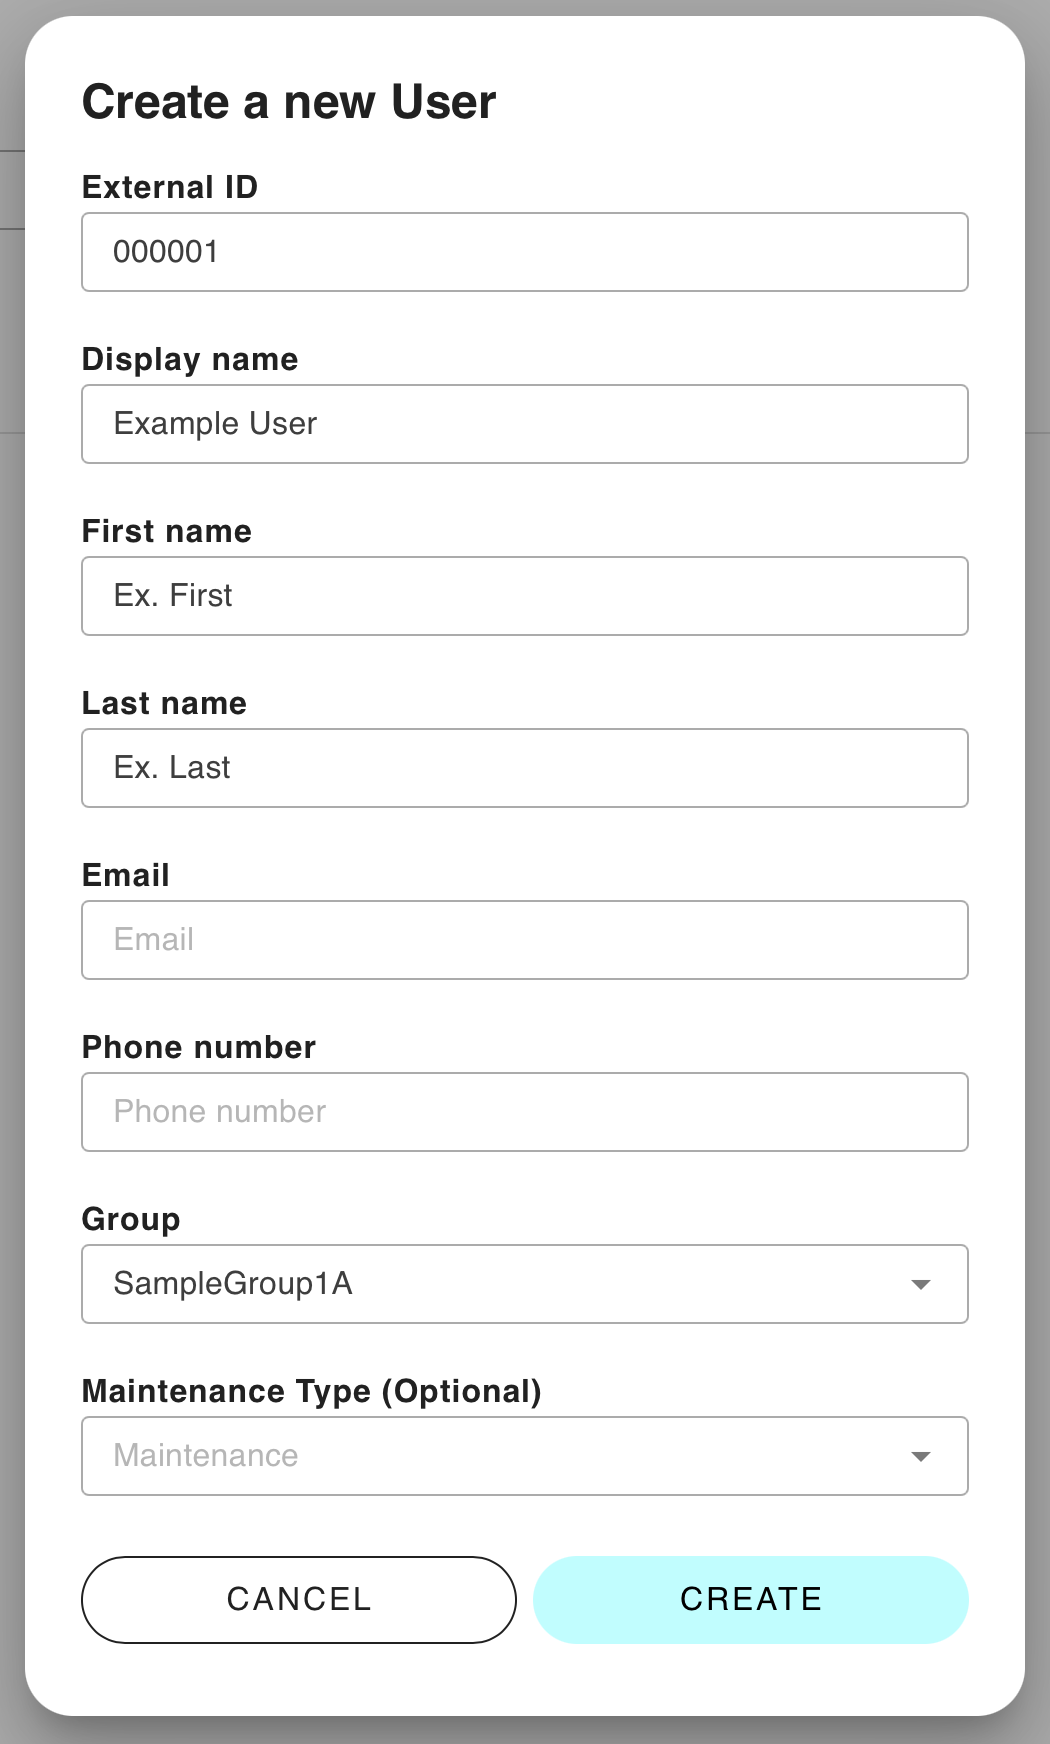
- External ID - Can be connected with an Order.
- Display, First and Last Names
- Email and Phone Number - Contact information. Optional.
- Group - Affiliated group.
- Maintenance Type - Optional, used for an existing Organisation.
Select Create.

Creating an Order for a User
Select Under User
Locate the relevant User and select the New Order button on its row or within its View / details section.
Select Fields
- Group - If a User already has a Group it is under, this will not be selectable.
- Event Group - This Order will be tracked under that Event Group.
- Type - Legacy order type.
Creating an Order
Limited to one order at a time. Bulk order creation is through the Admin panel.
Click Create Button
Navigate to Orders and click the +Create button.
Enter Fields
Select the the Event Group it will be tracked in, and the Type. Does not refer to Order Types, instead uses a legacy Order Type system; orders that have different recipients and purposes, but follow the same workflow. As for the selection of the Type, select Other.
For User, it depends on your current workflow.
- If you are assigning to an existing User, select Existing.
- If you are assigning to a new User, select New.
- If you are sending an Asset not to a particular person, but it is still a target destination or location, select New and enter its details in First and Last name.
Select Confirm.
Assign Items to Order
Return to Orders and click View on your Order, where you will see its details. Click Issue.
Register Items
You can use the following methods:
- RFID
- This is automatically available whilst Scanner is enabled or set to On.
- Move your RFID tagged items across the Scanner for it to register.
- Click Issue after scanning all the required items for the Order.
- Manual Allocation
- Select Manual Allocate, select all the required Assets and click Confirm.
- These will automatically Allocate into the Order.
Assigning Items to Existing Orders
Inspect Order
Navigate to an Order and select View. Select Issue.
Register Items
You can use the following methods:
- RFID
- This is automatically available whilst Scanner is enabled or set to On.
- Move your RFID tagged items across the Scanner for it to register.
- Click Issue after scanning all the required items for the Order.
- Manual Allocation
- Select Manual Allocate, select all the required Assets and click Confirm.
- These will automatically Allocate into the Order.
Bulk Returning Order Assets
Check or Adjust RFID Scanner Strength
Navigate to Settings and under the RFID tab.
Check if your RFID Scanner has the correct range and whether or not it should beep when scanning an Asset.
Navigate to Return
Go to the Return tab.
Position Scanner
Set up your scanner in the correct position for returning Order Assets in bulk.
Make sure you account for behind the RFID scanner; the range can go behind possible obstacles, like walls.
Return Items
Move the returned Assets across the Scanner, which should reveal the Assets on the connected screen and, if configured to do so, give off an audible beep.
Returning Individual Items in an Order
Make sure you have the RFID Tag of the intended item returned.
View Order
Navigate to your Order and make sure that it is either Partial or Allocated. Click View.
Show Entire Order
When inside an Order, click Show Entire Order to display all the items inside the Order.
Return Item
Click the arrow icon on the intended item to be returned. Place the RFID tag against or within range of the Scanner, and click Scan. This will return the item.
How to Create and Complete Stock Takes
Create Stock Take
Go to the Stock Take screen and select the Create Stock Take button. Write the name of the stock take and any Asset Types that will not be included or recorded in the take, then select Confirm.
Scan Items and Compare
Beginning the stock take automatically starts the scanner. Scan your items and compare them to the Assets originally stored.
When you are finished, select End Stock Take.